|
|
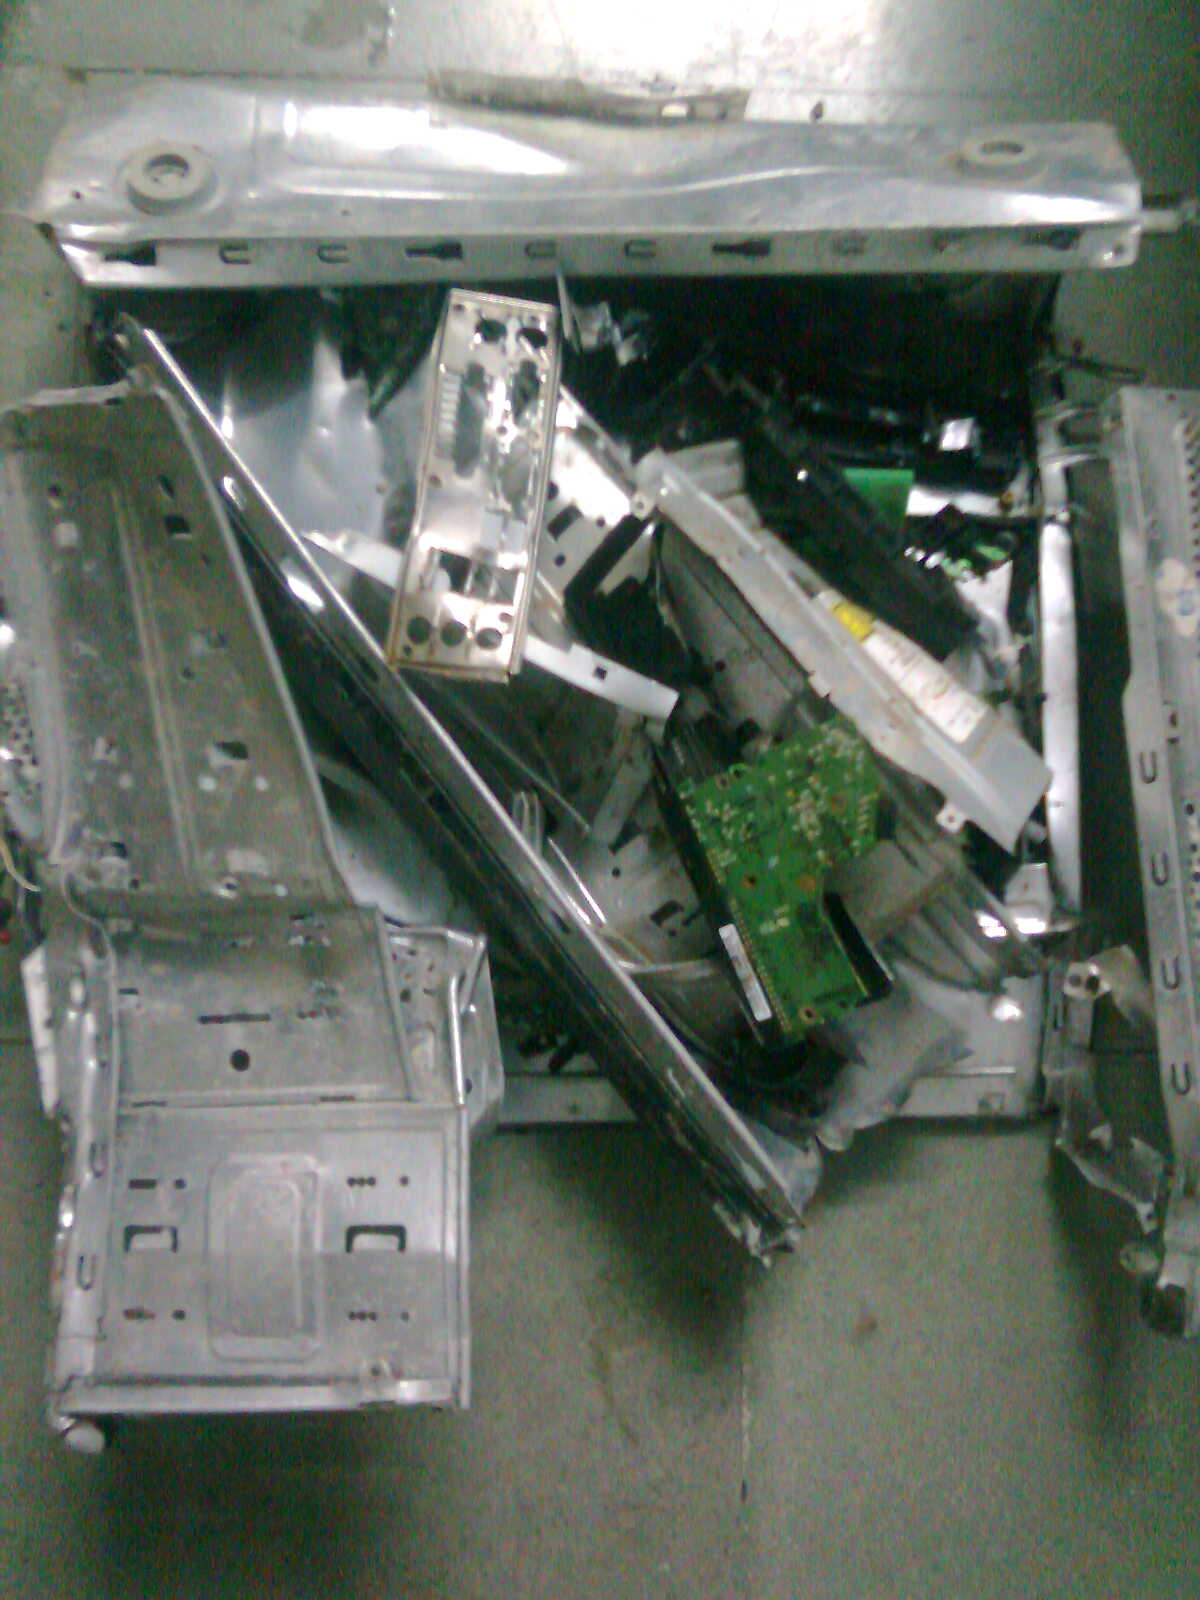
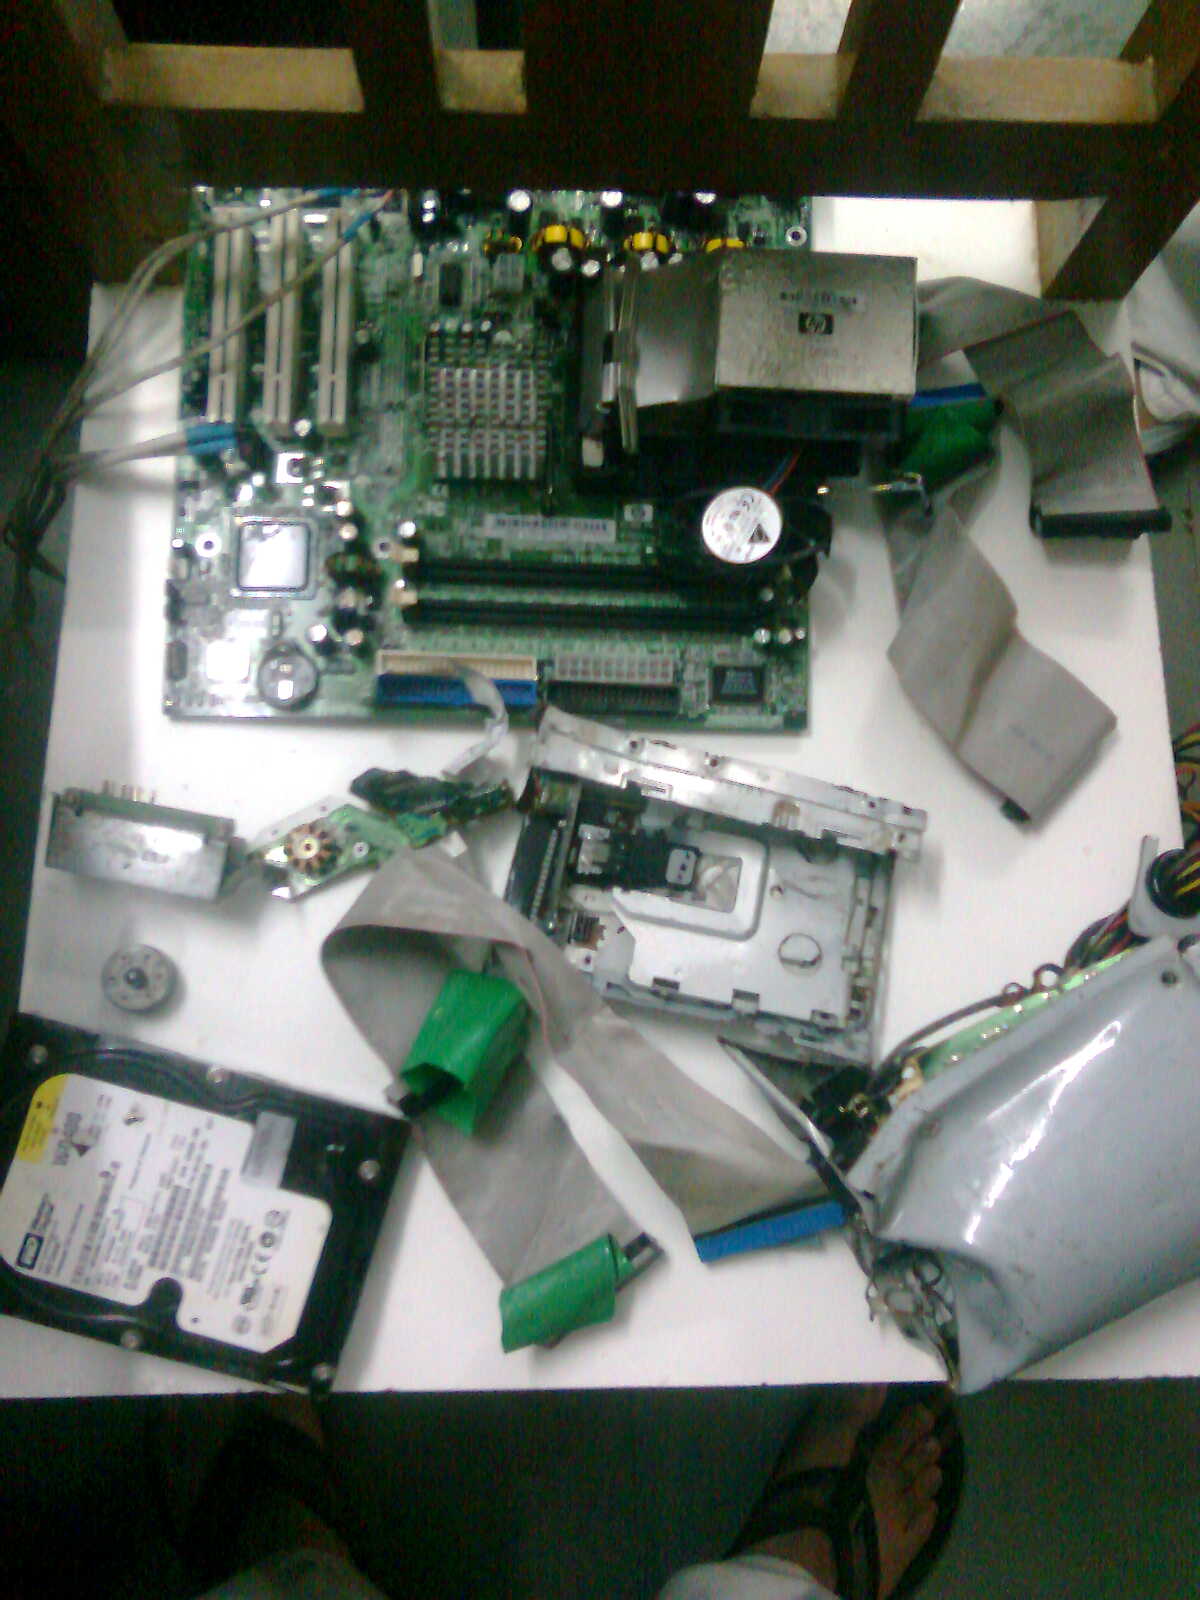
A COMPUTER WRECK FOUND AND DISSECTED
Guess What I was strolling down a Big heap of An old building Rubble ,en i find crushed Cabinets. I got them back to my hostel an then we began a tireless job of EXTRACTION. HA HA !! have a look.
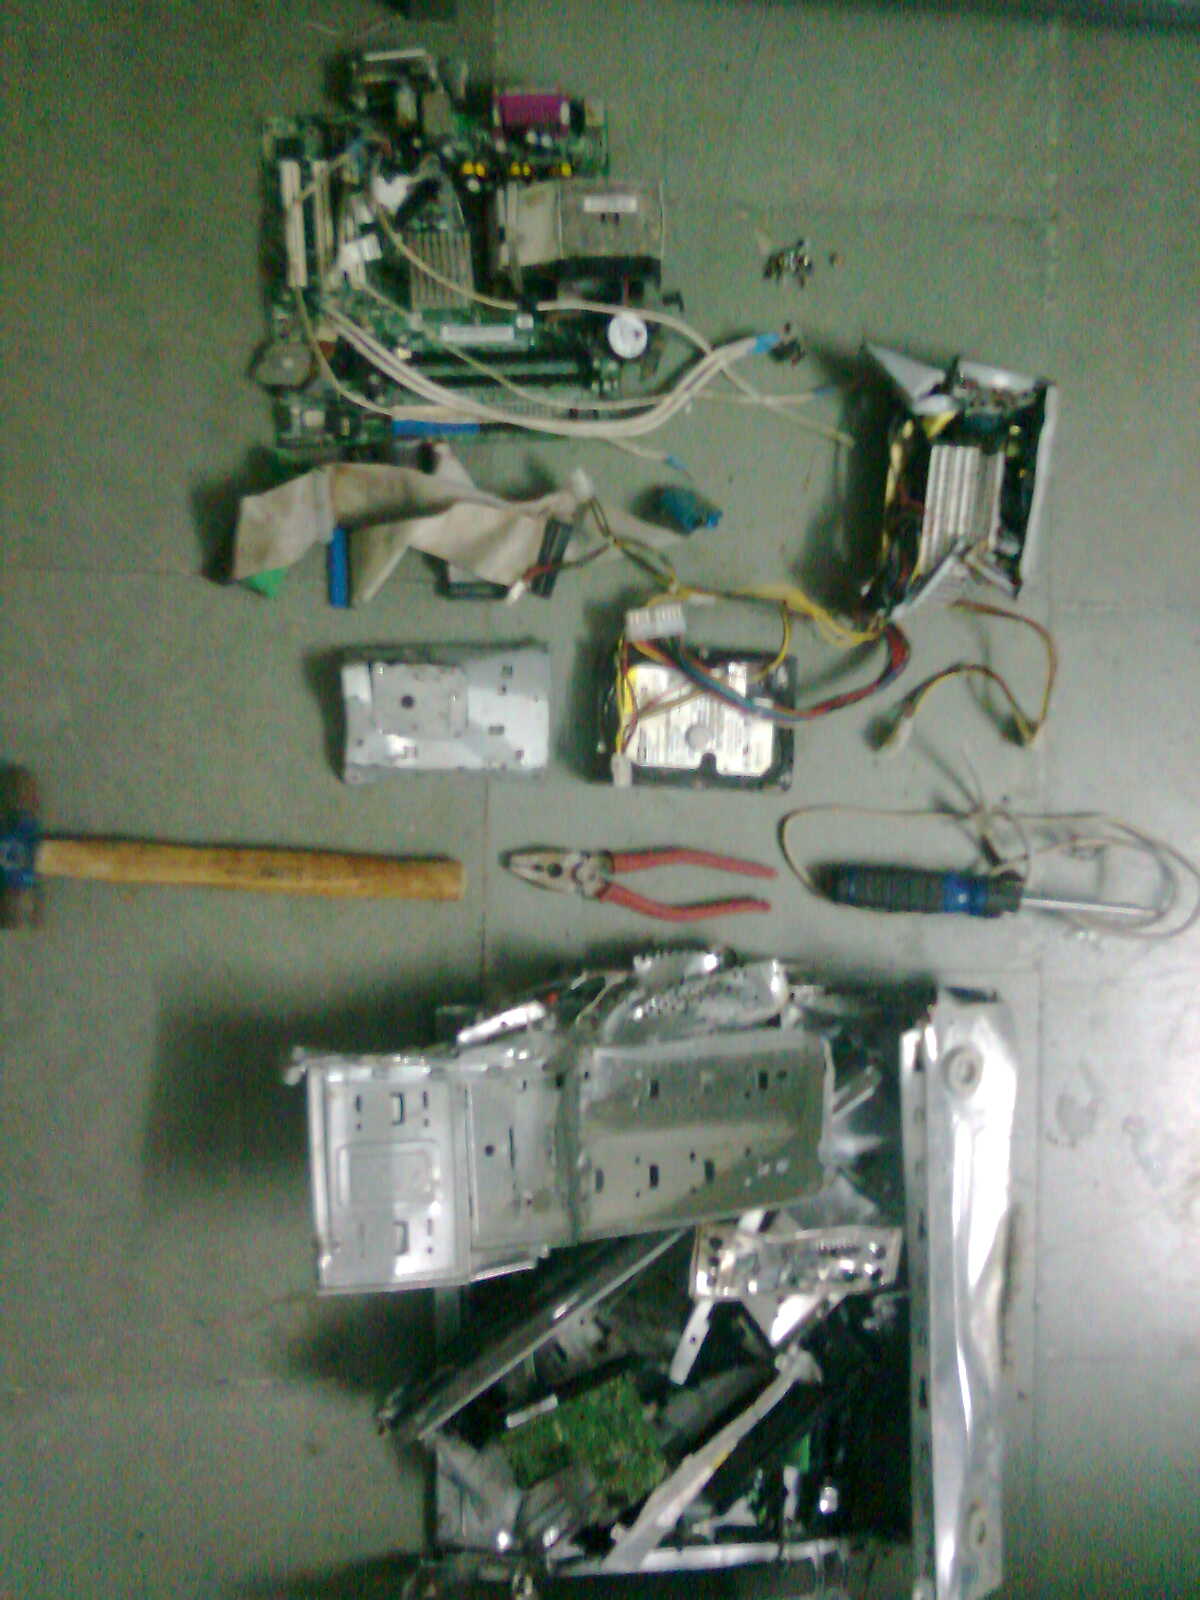
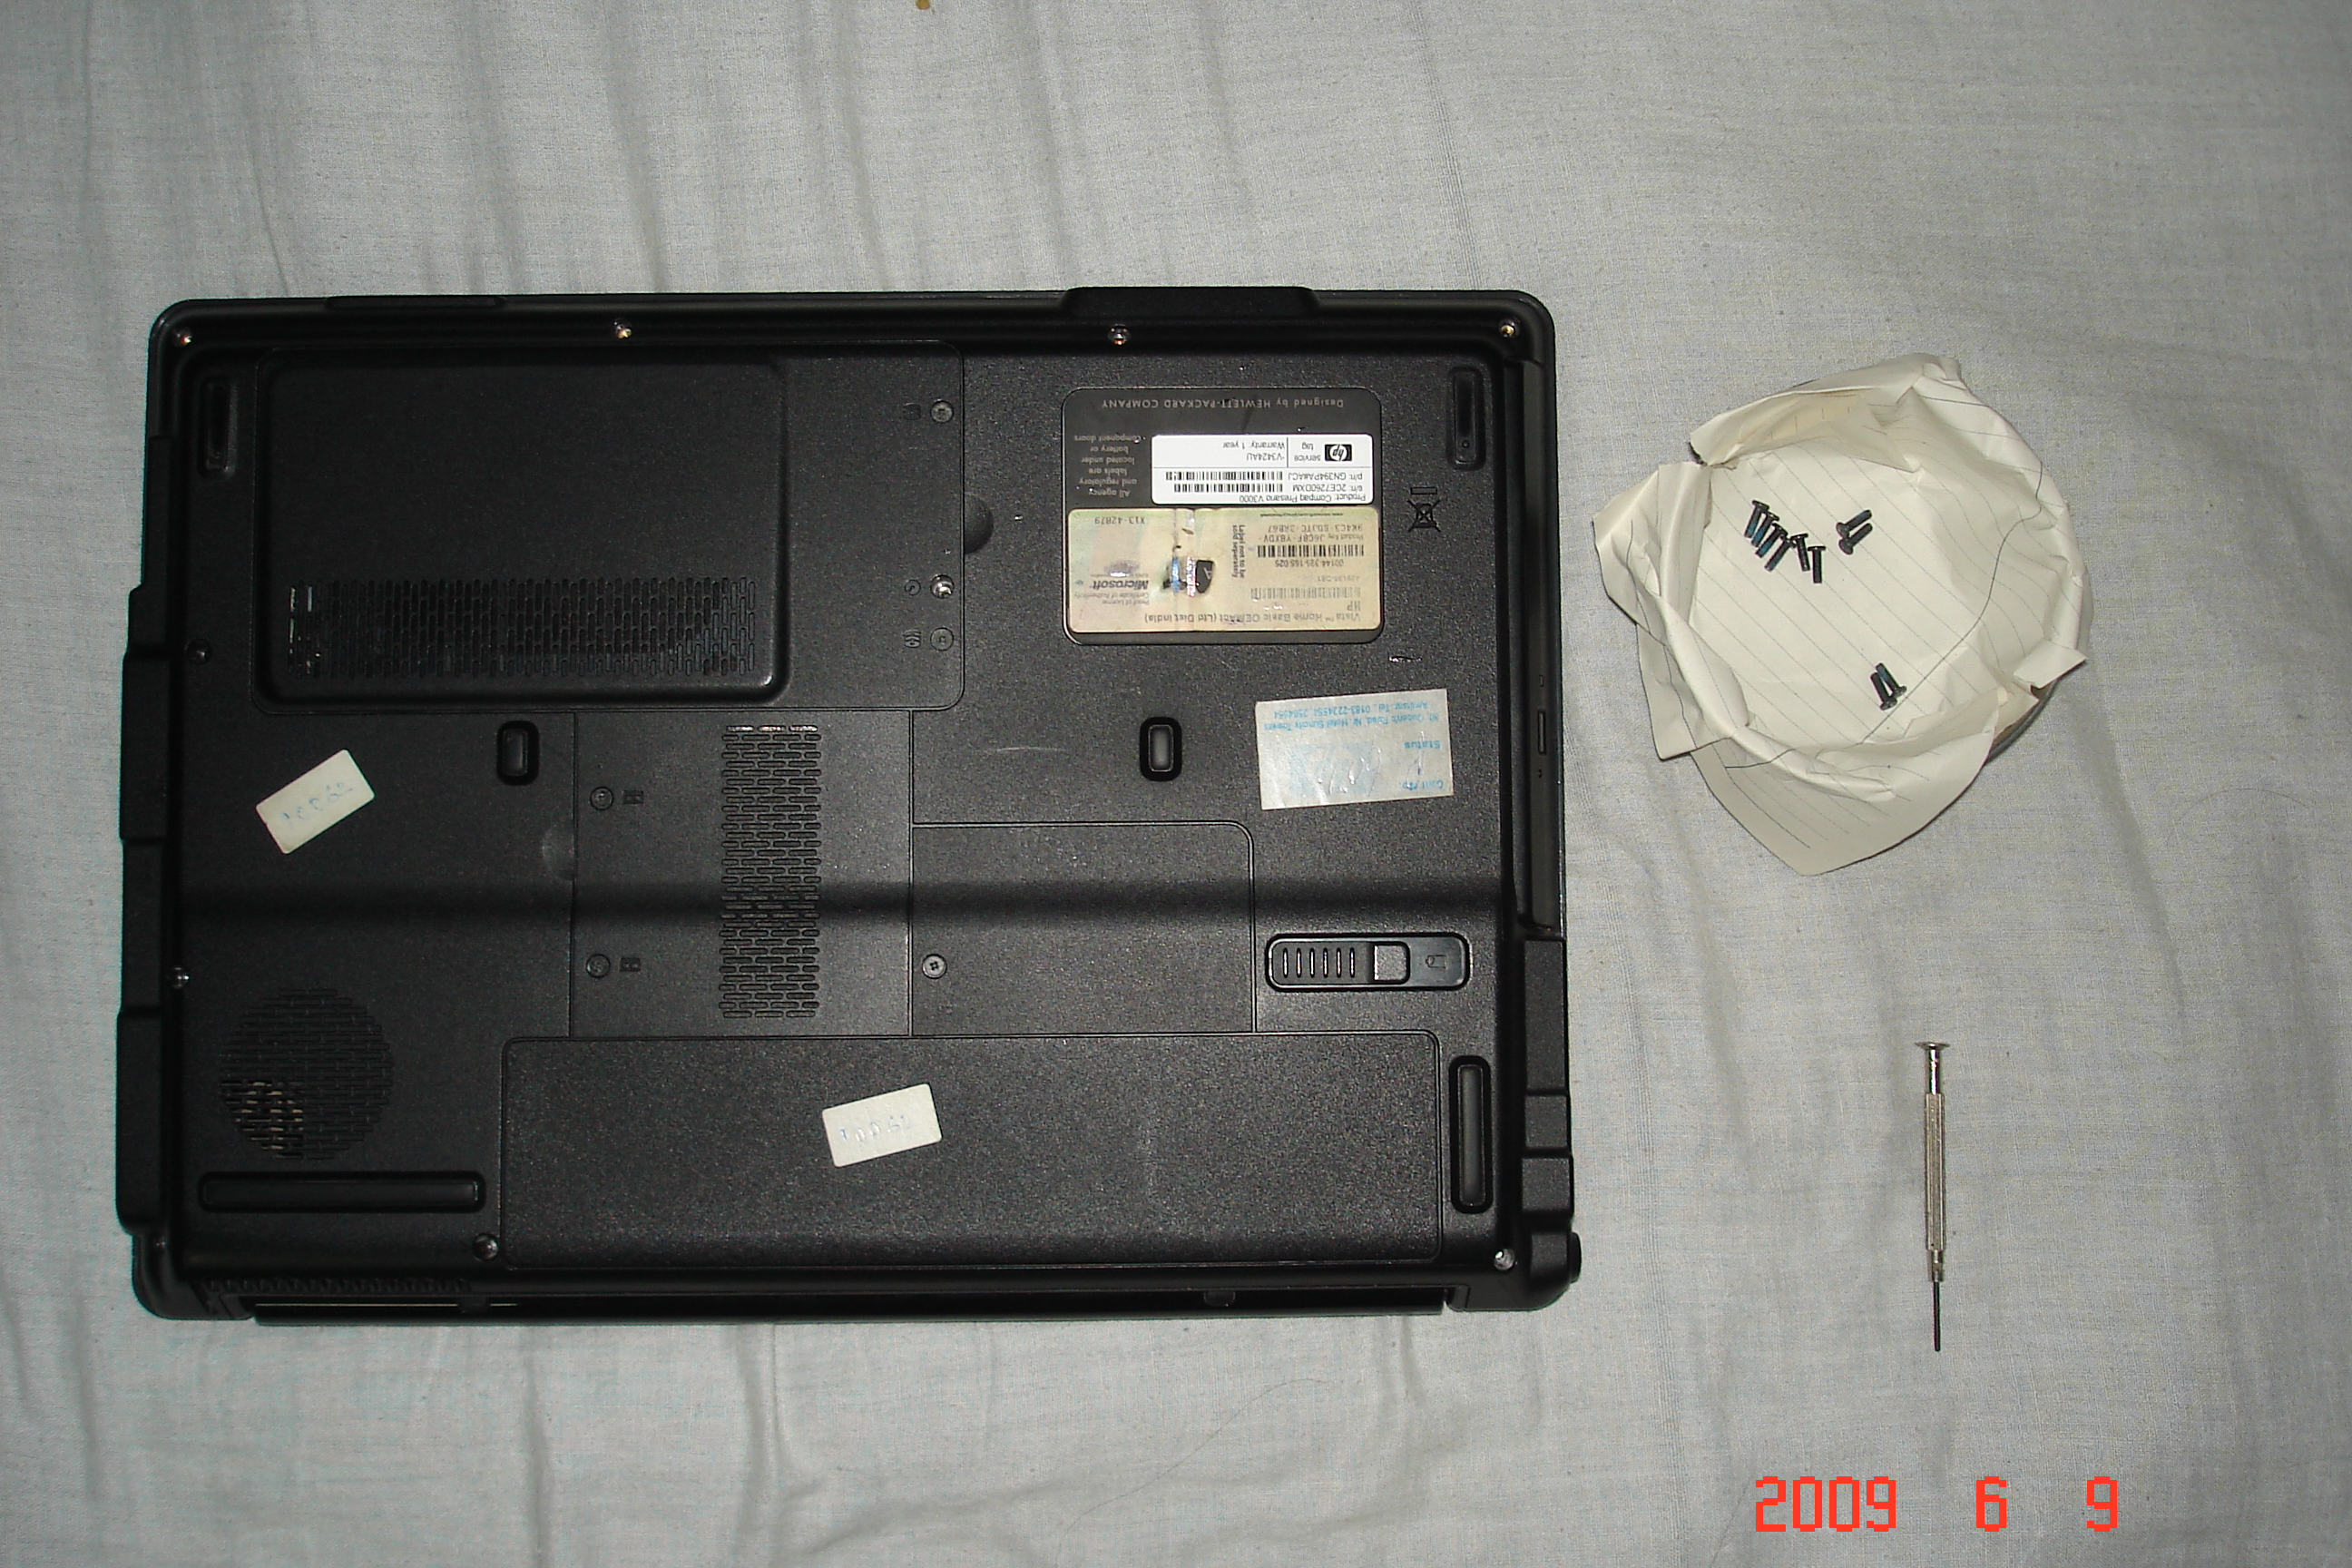
TOOLS USED BY US
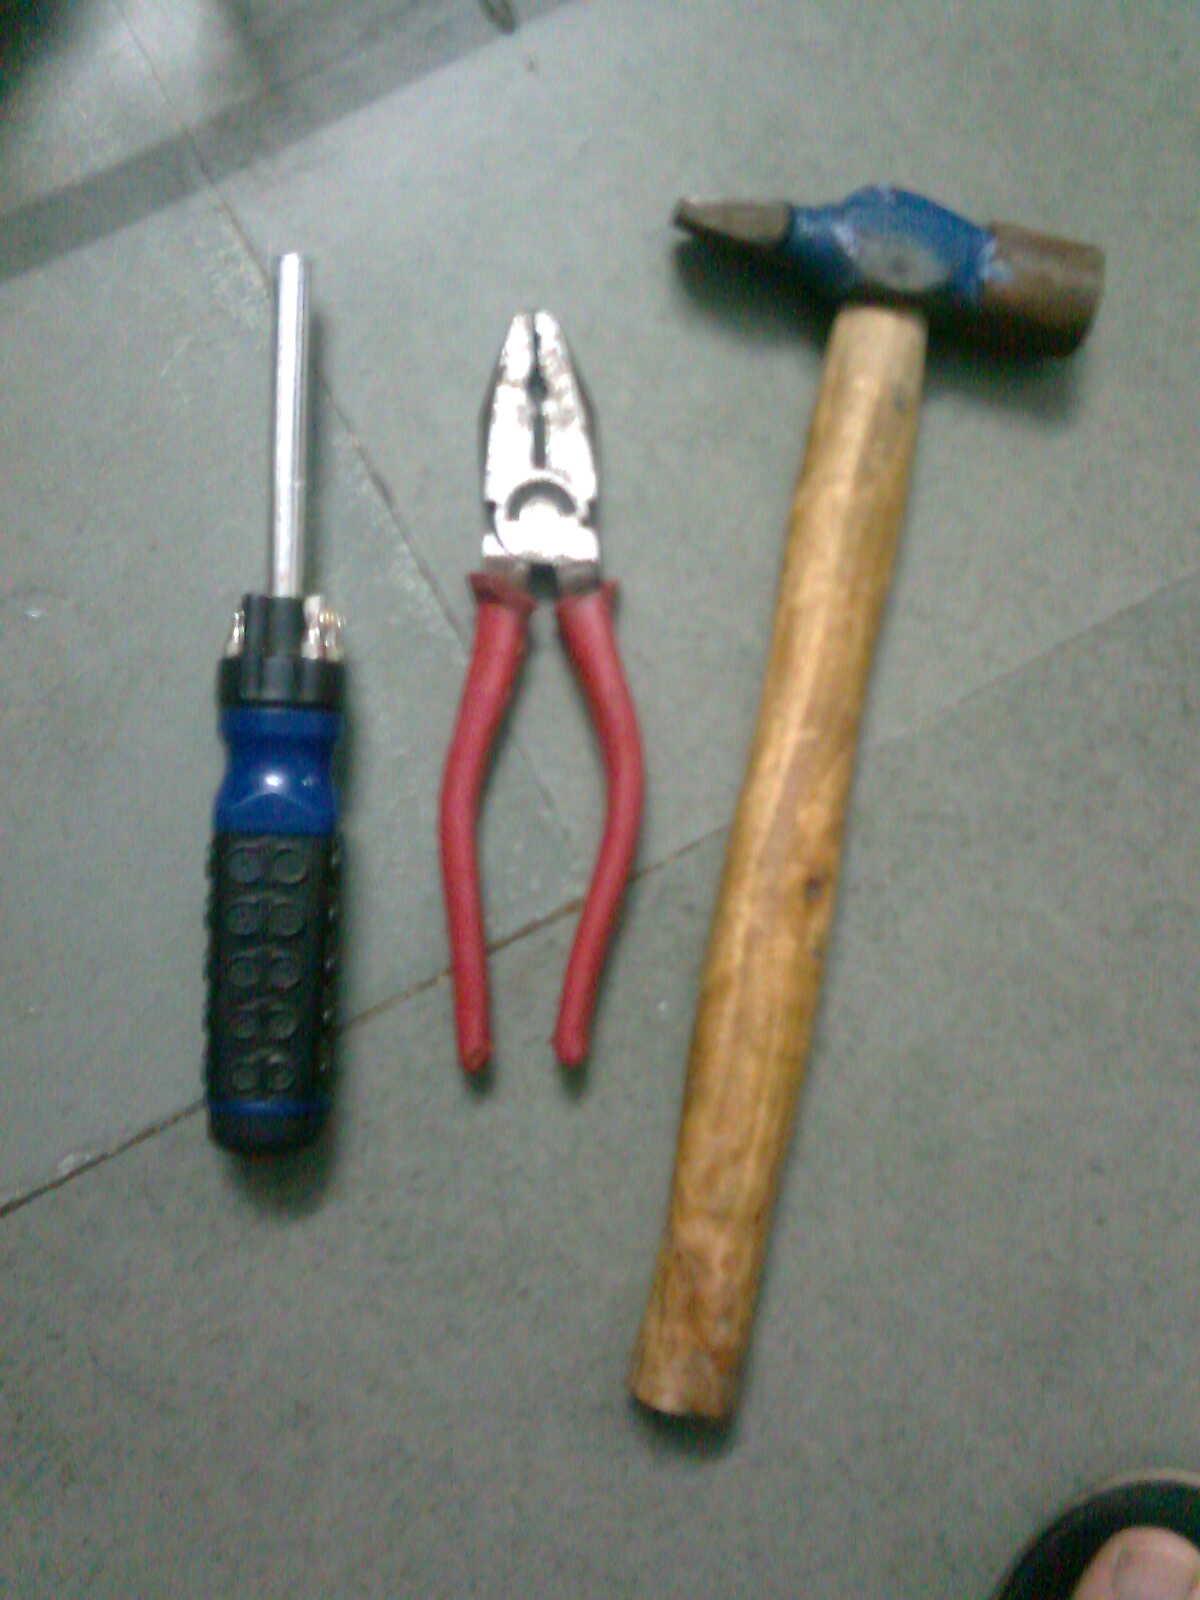
Views:
2756
|
Added by:
jenum
|
Date:
2009-10-02
|
|
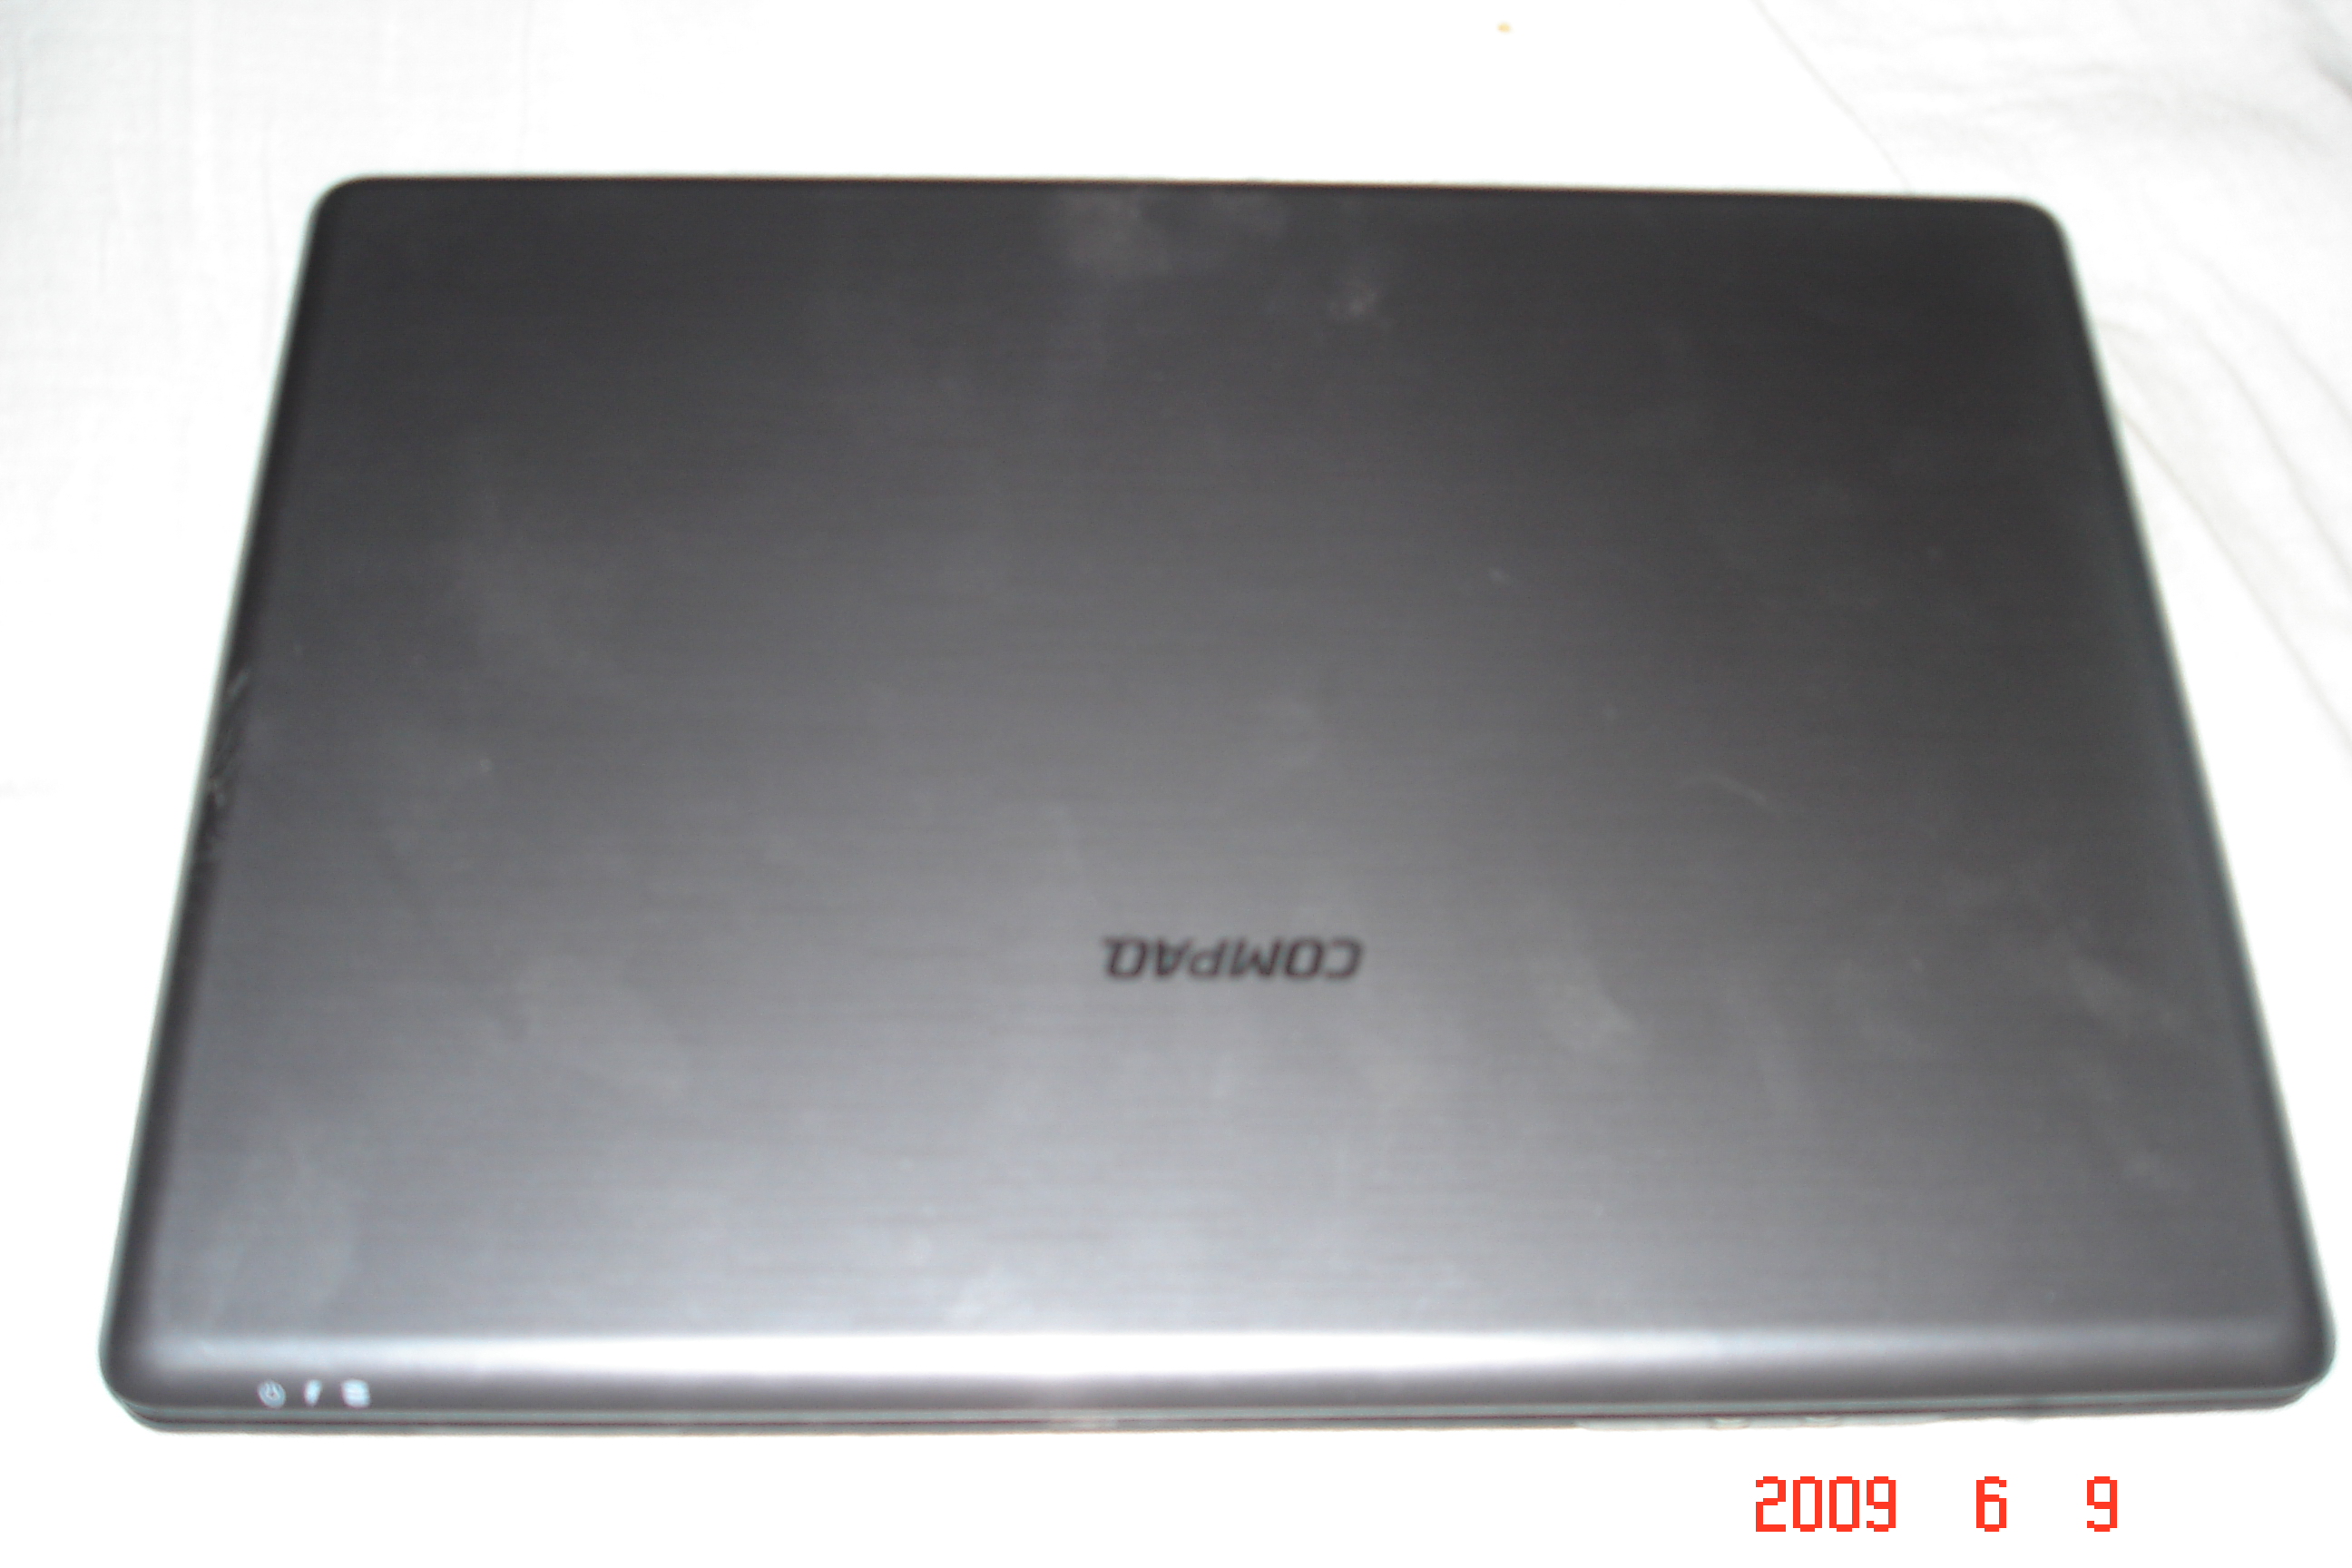
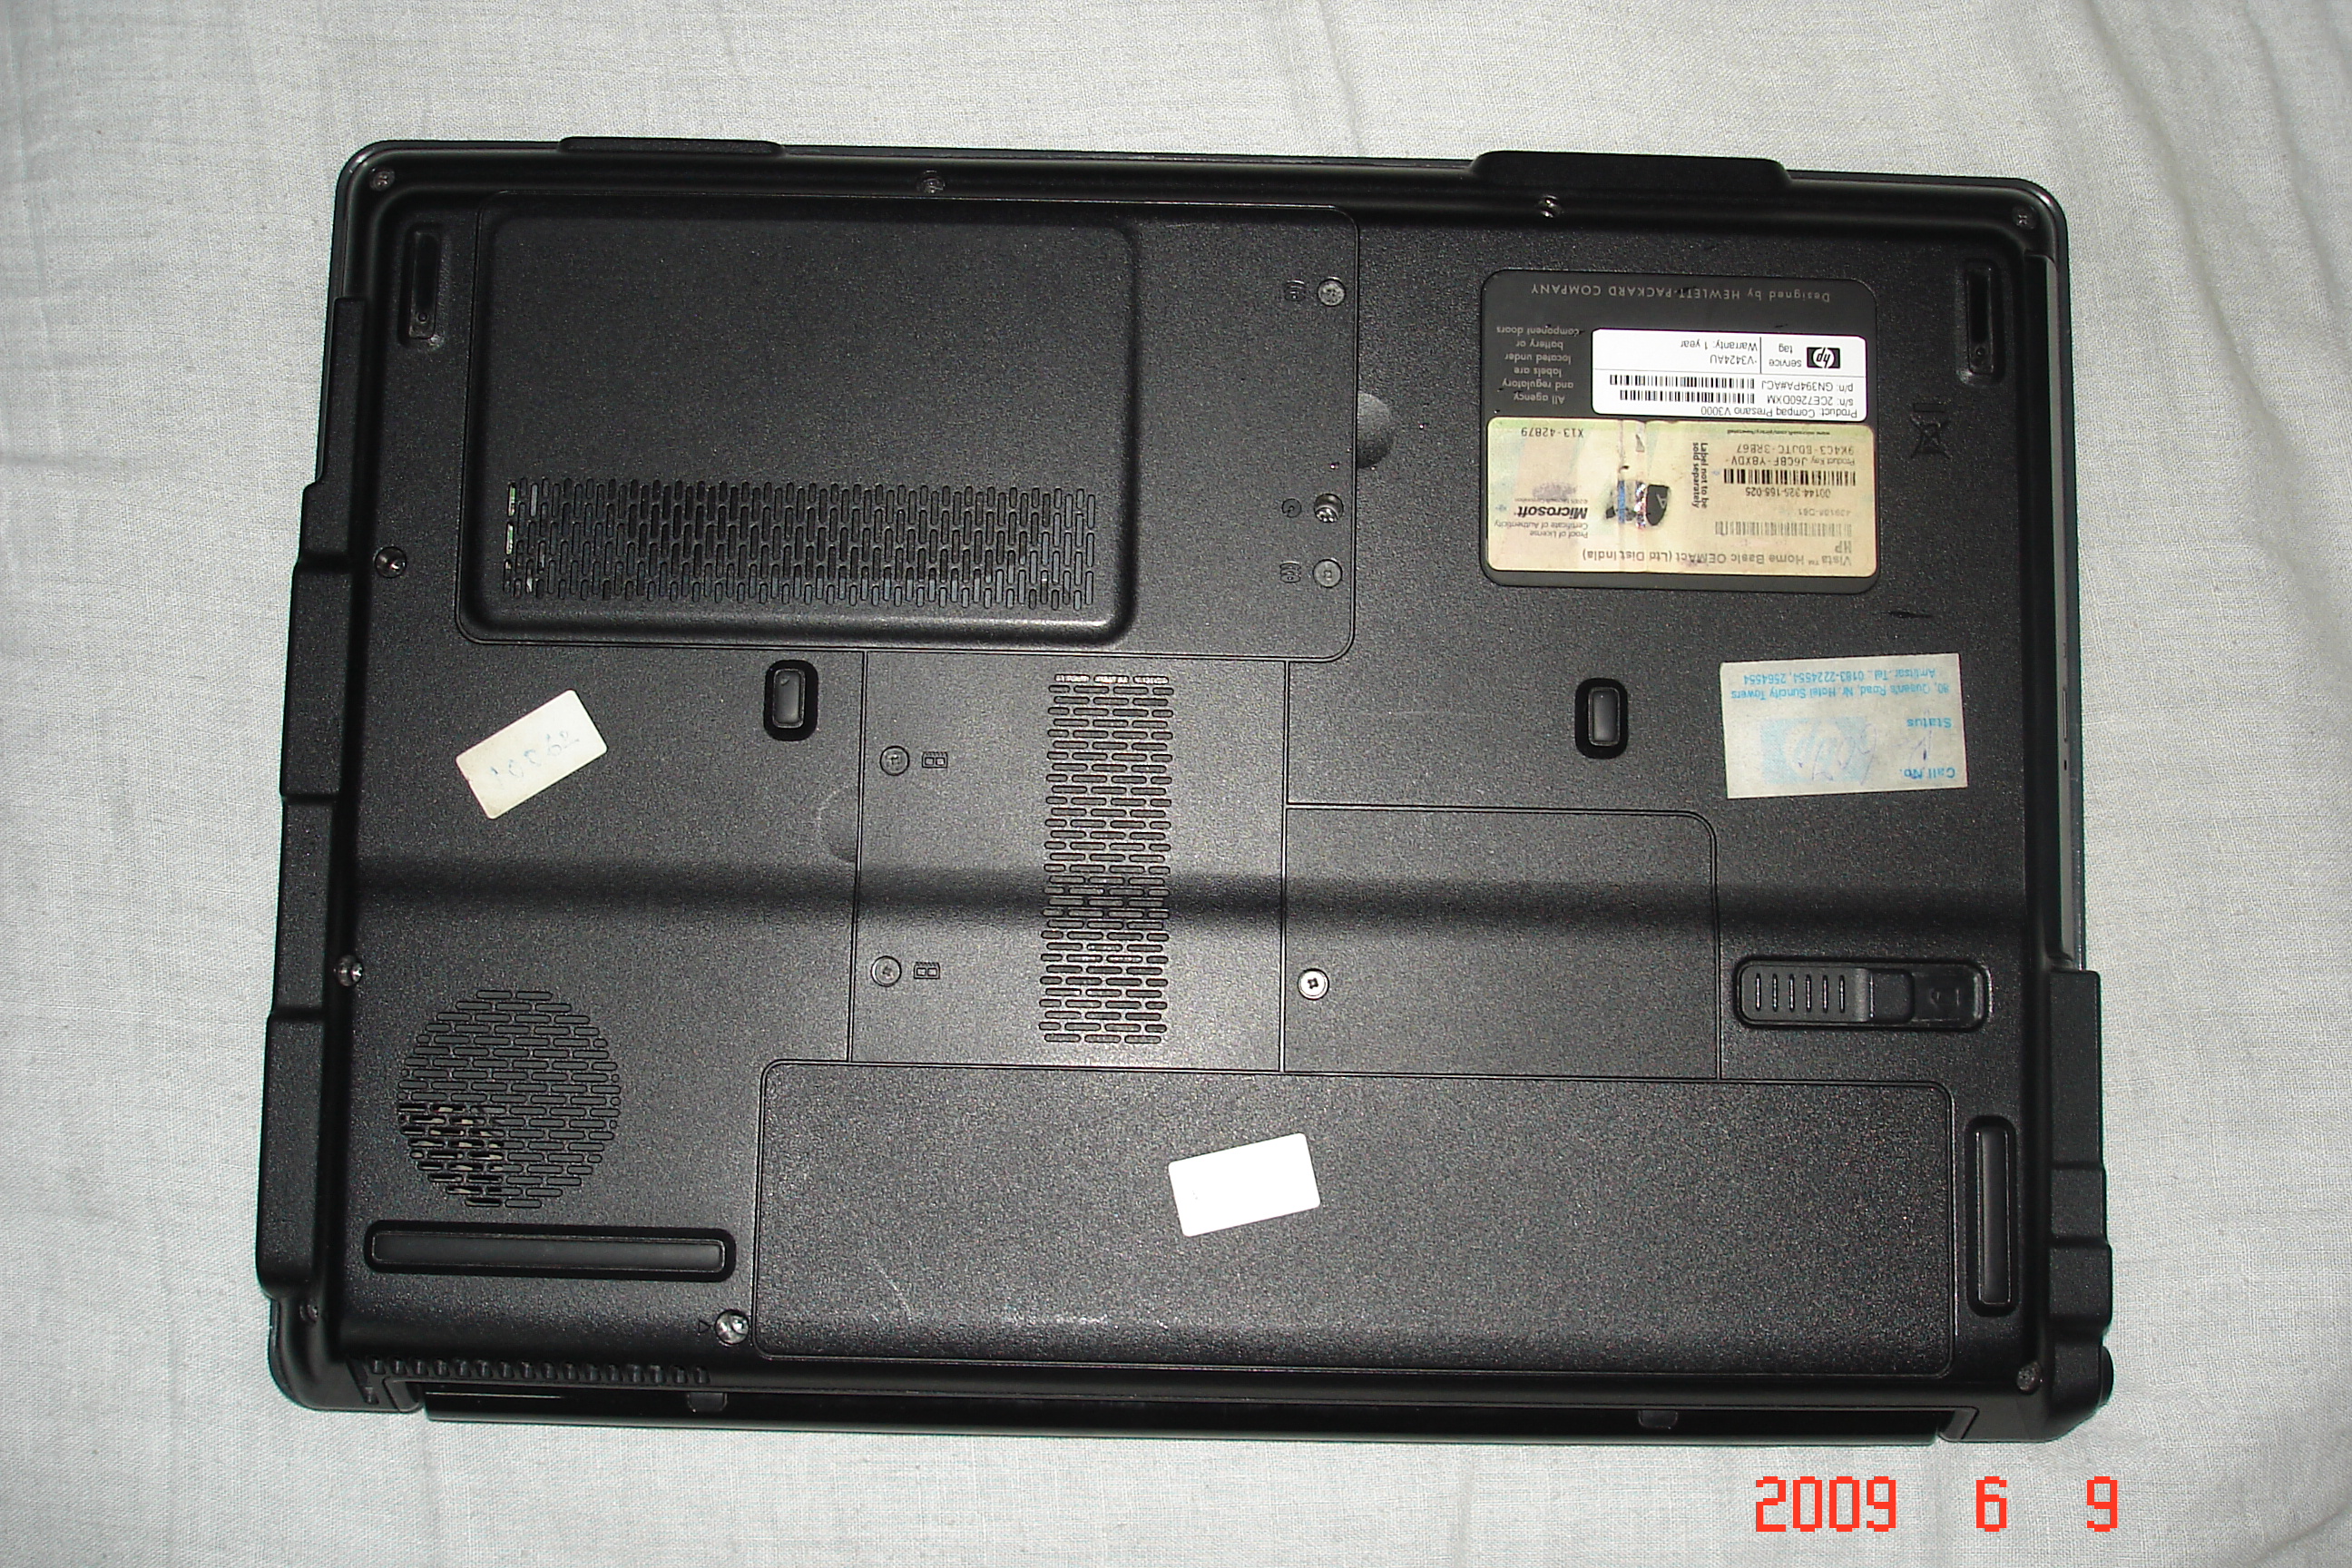
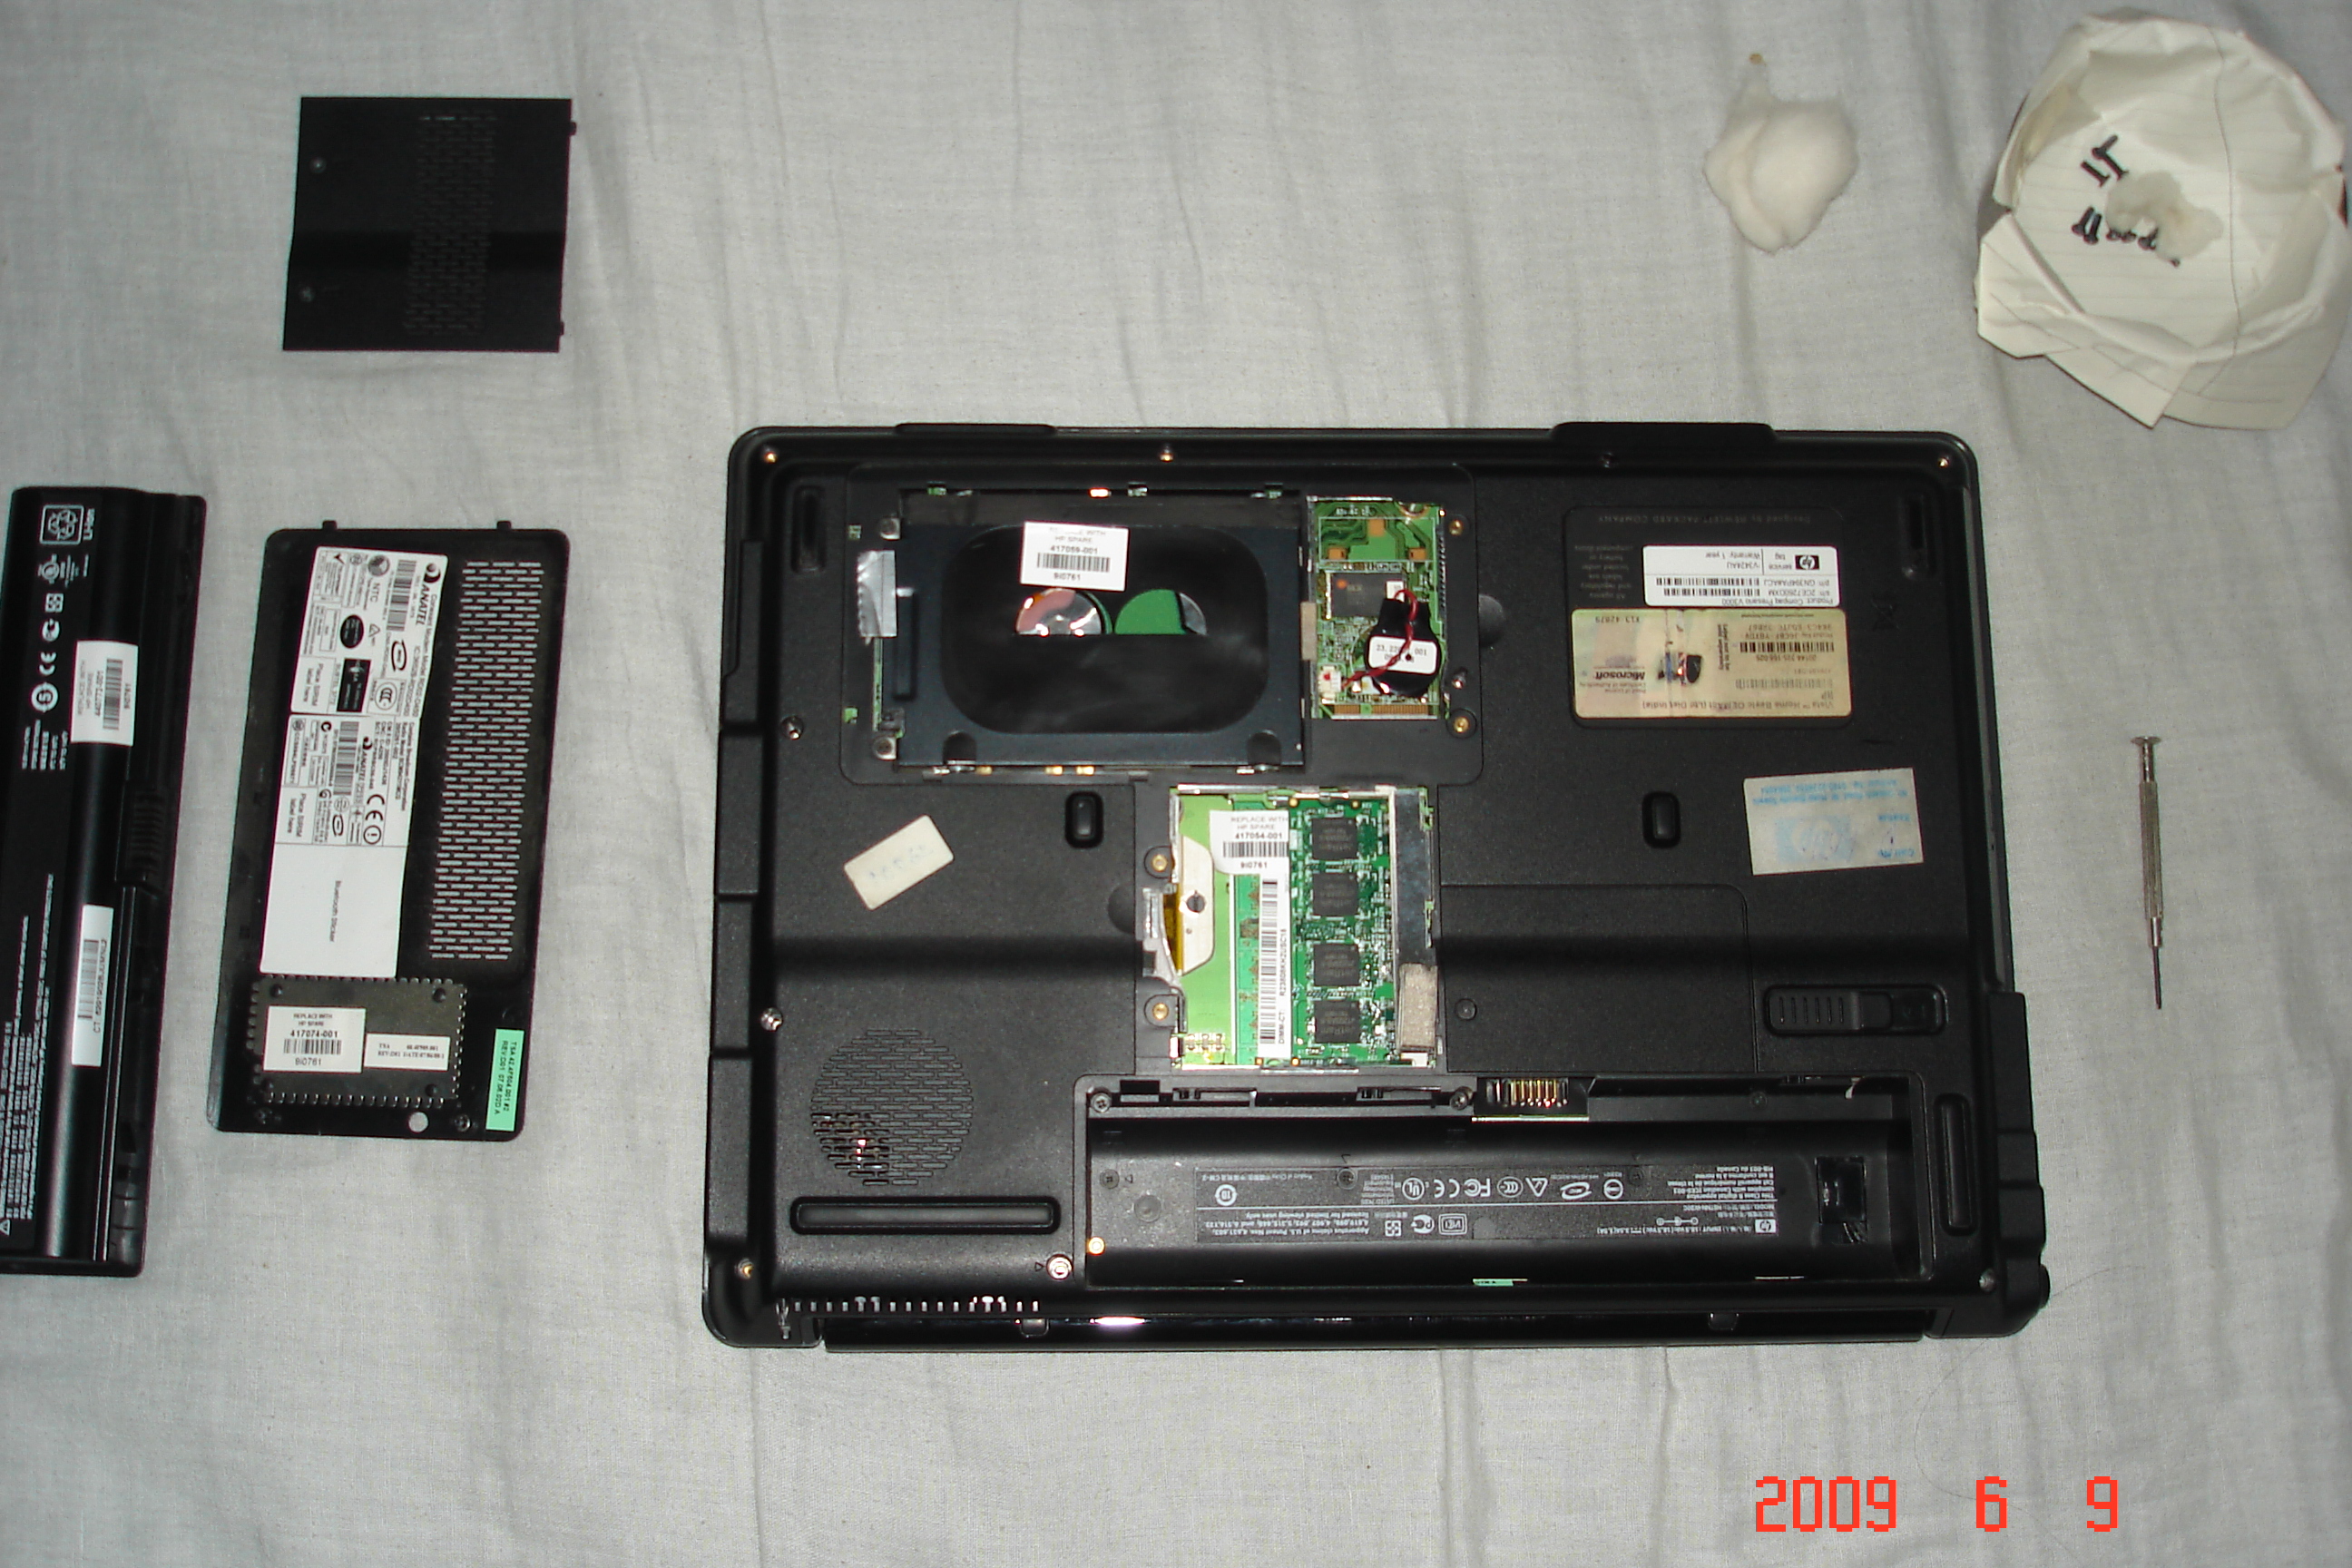
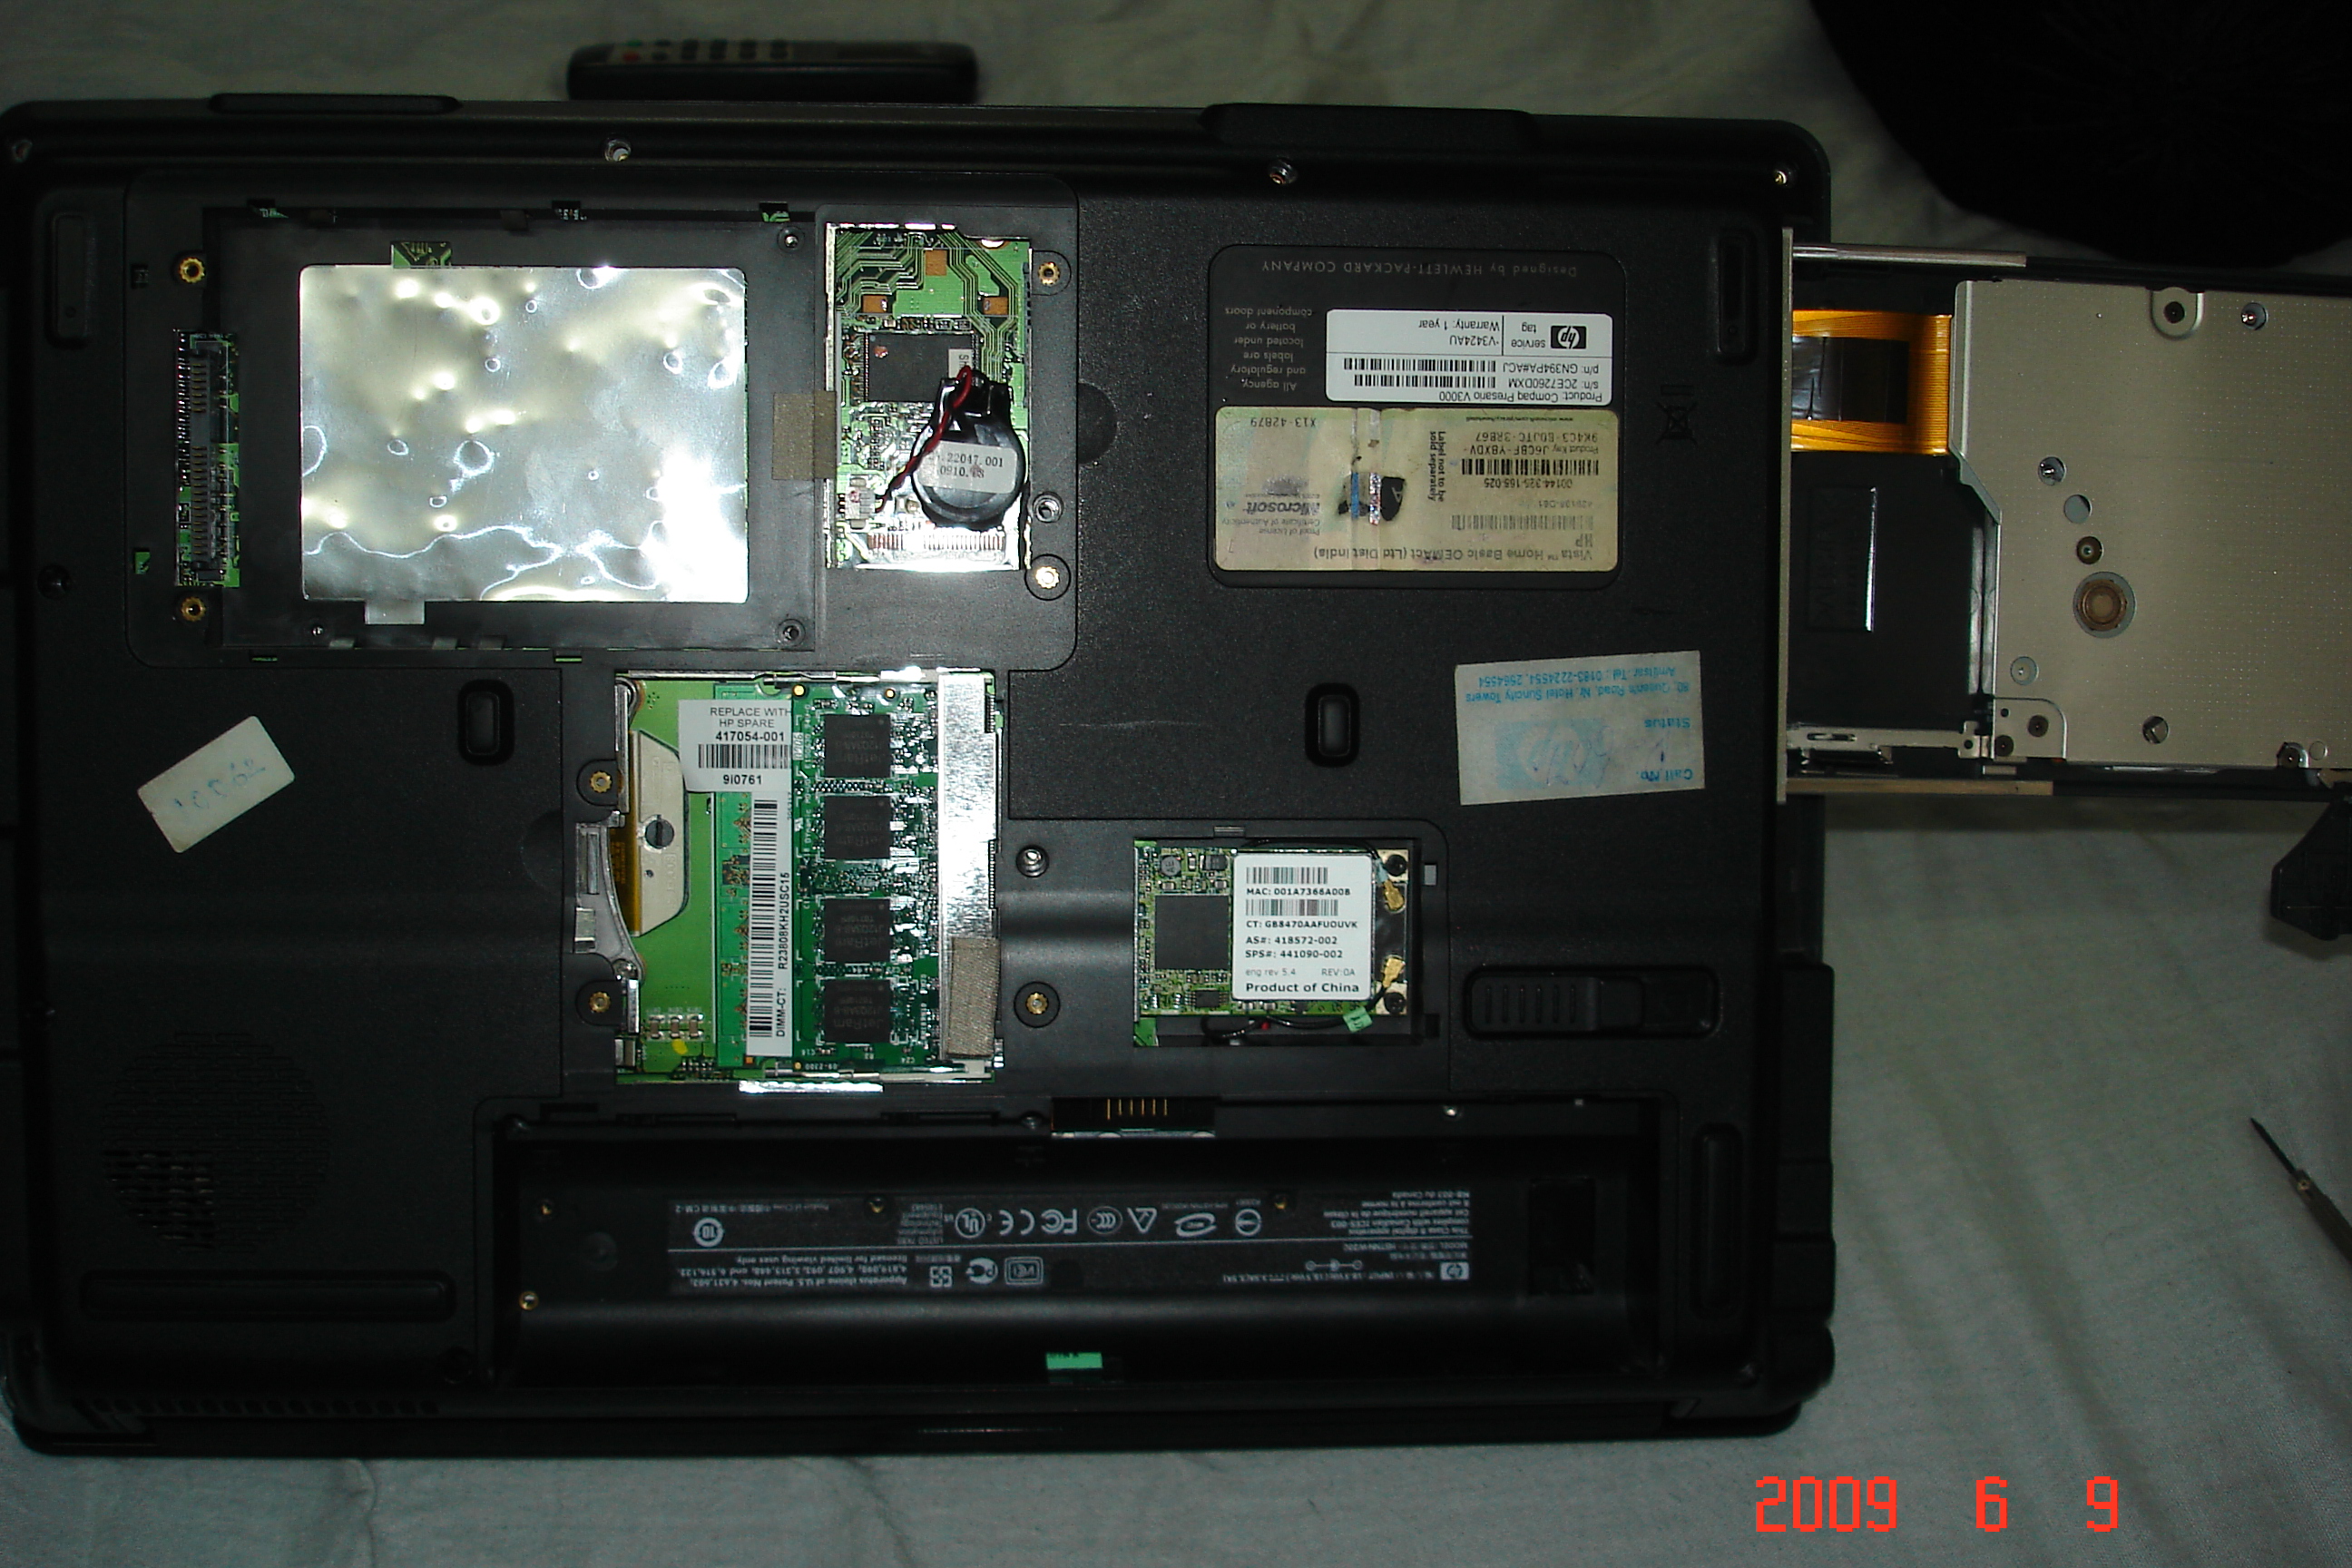
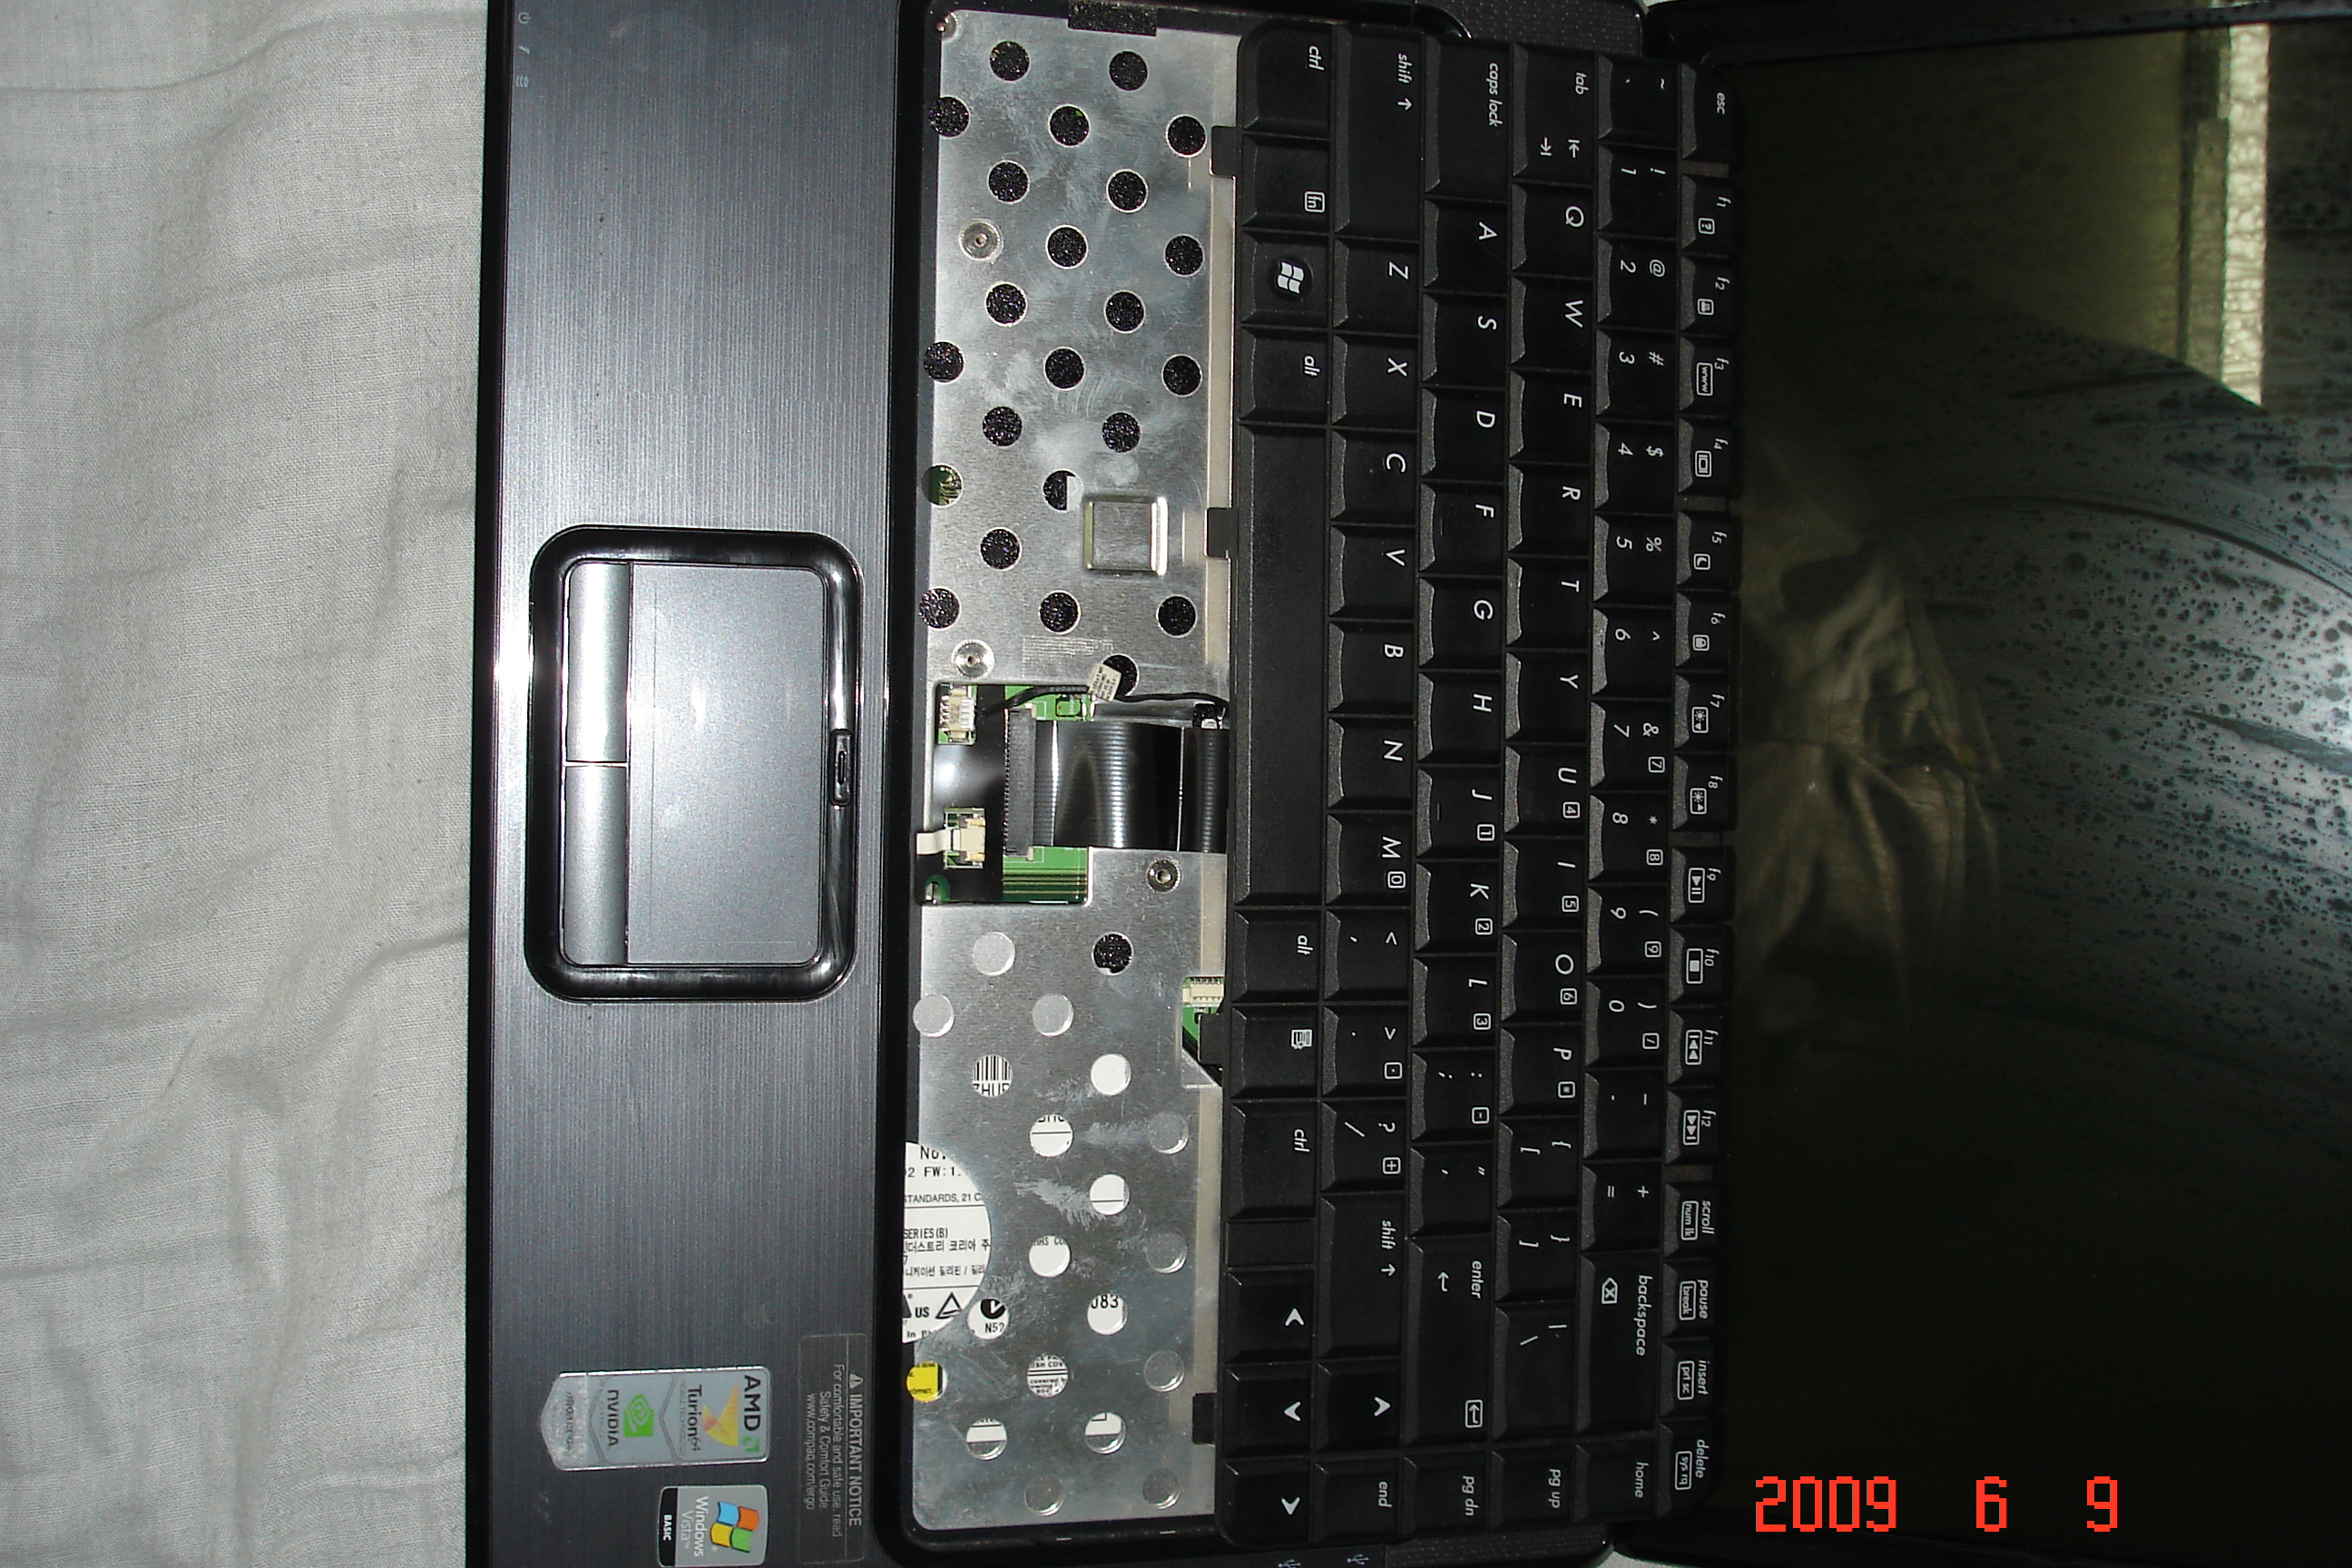
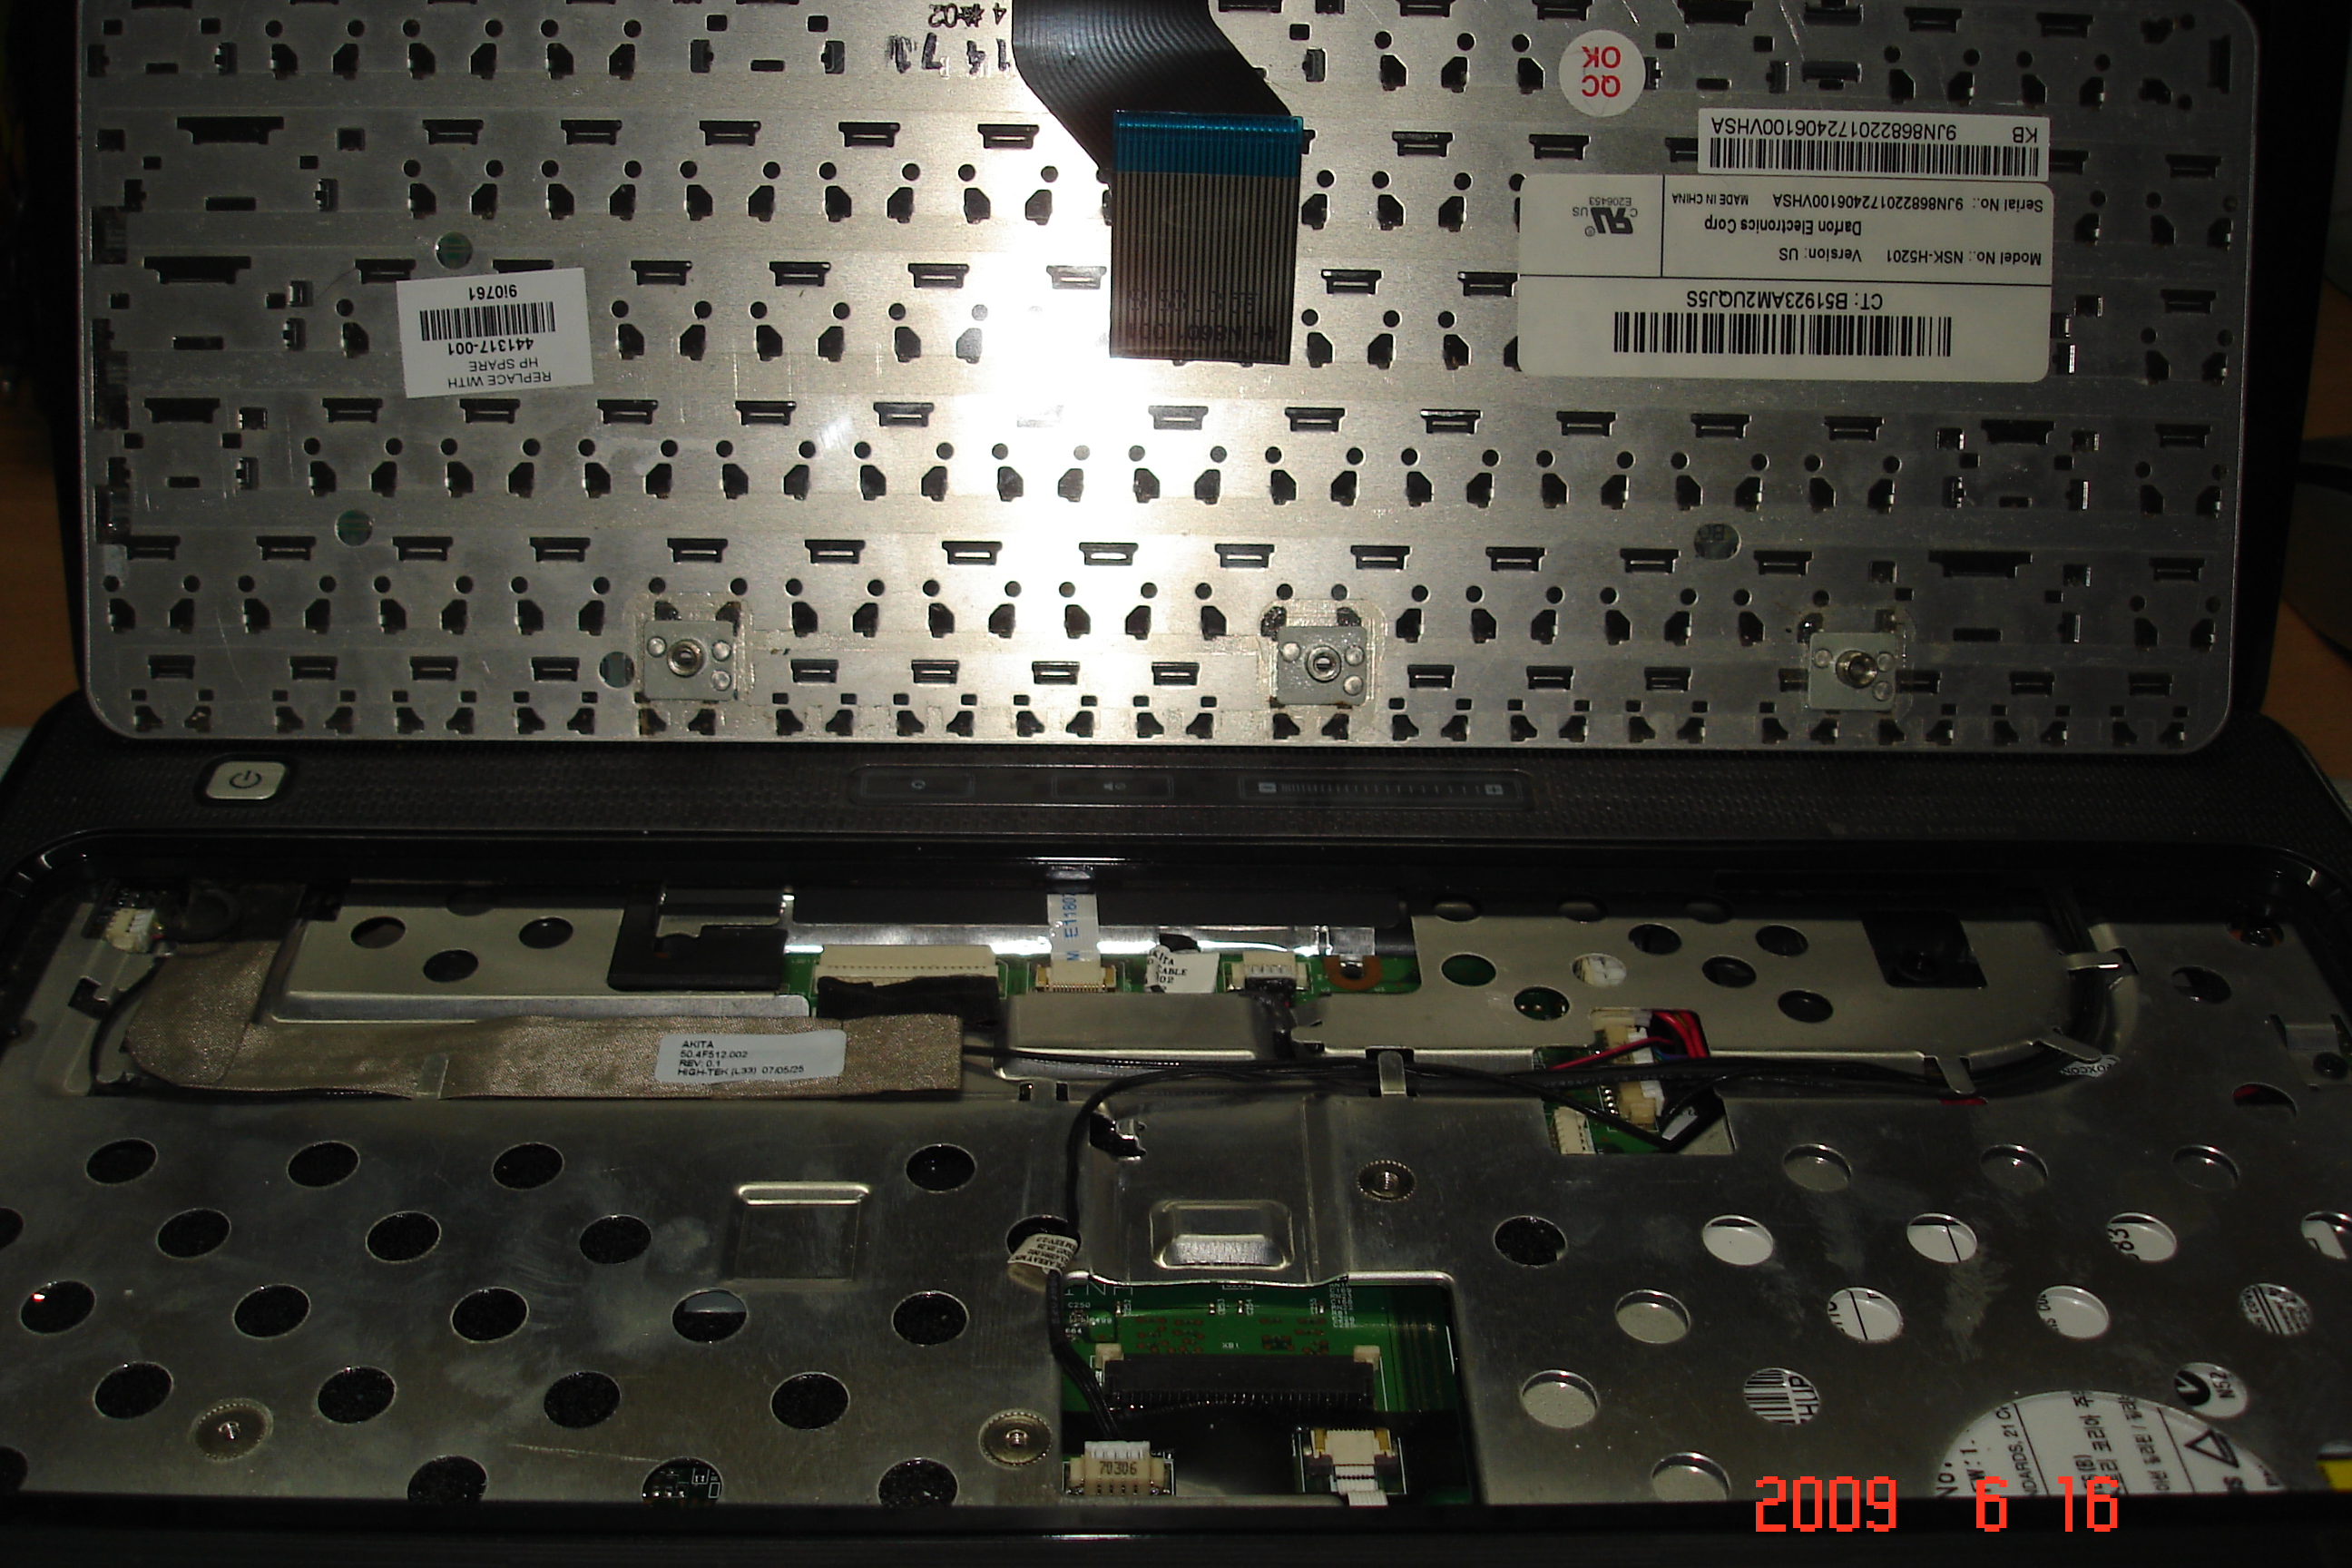
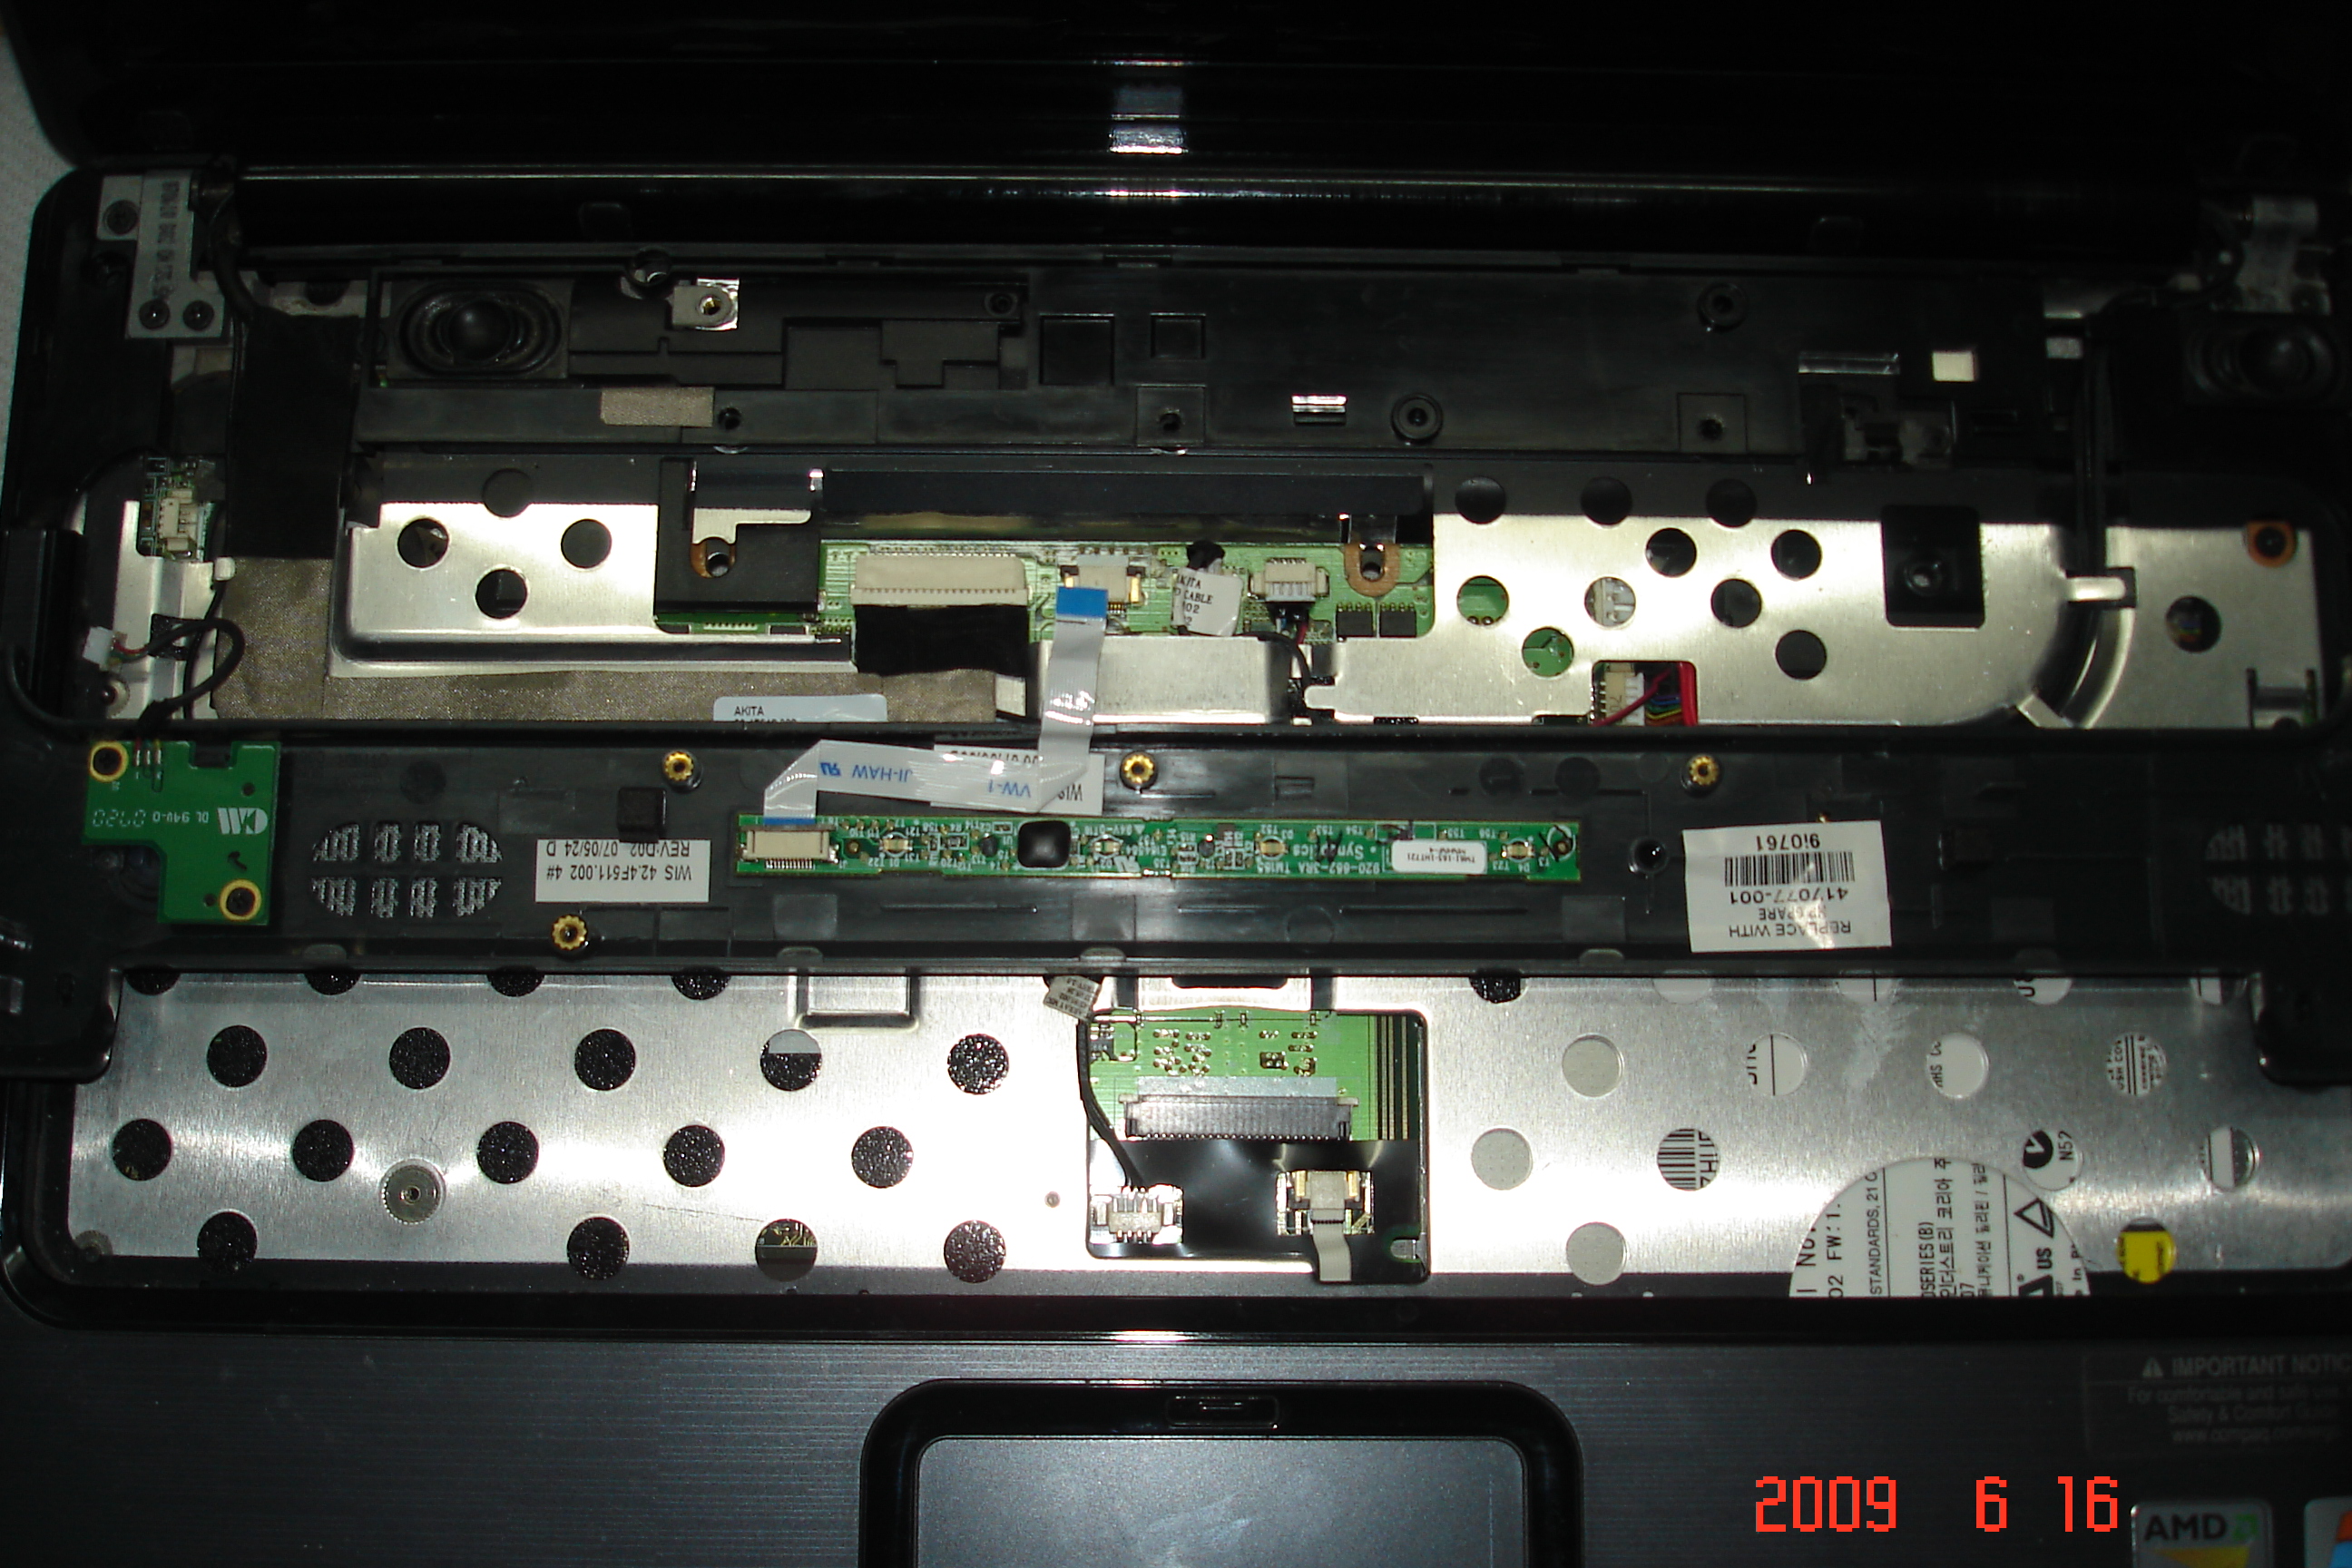
LAPTOP DIS ASSEMBLY : MODEL COMPAQ 3424 AU
Views:
5126
|
Added by:
jenum
|
Date:
2009-09-12
|
| |
|
| Calendar |
| « May 2026 » |
| Su |
Mo |
Tu |
We |
Th |
Fr |
Sa |
| | | | | | 1 | 2 | | 3 | 4 | 5 | 6 | 7 | 8 | 9 | | 10 | 11 | 12 | 13 | 14 | 15 | 16 | | 17 | 18 | 19 | 20 | 21 | 22 | 23 | | 24 | 25 | 26 | 27 | 28 | 29 | 30 | | 31 | |
| Statistics |
Total online: 1 Guests: 1 Users: 0 |
|